Constructing an acrylic sump
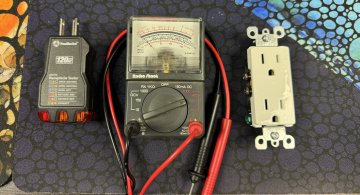
To build a sump yourself, you'll need the proper tools and a flat work surface. Be sure to check out my tools page: http://melevsreef.com/articles/acrylic-work-tools-i-use , so gather up some of these items and read over the pages here on Melev's Reef. I share quite a bit of information to help you decide if this is something you'd like to do yourself...
This is the order of what to glue together when:
- Lay the front panel on the work surface, and glue in the baffles and end pieces. Let it cure for at least 45 minutes
- Lay the back panel on the work surface, and flip the glued assembly onto this panel and glue all touching parts to the back panel.
- Lay the top panel on the work surface, and glue the four-walled sump to it.
- Lay the bottom panel on the work surface, and glue the sump to it.
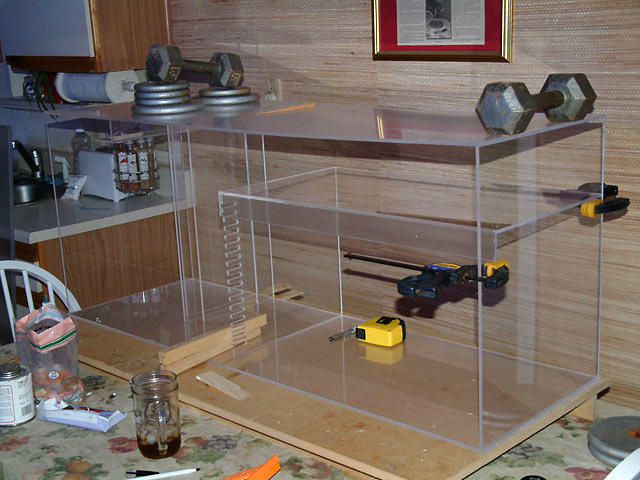
Once all your pieces are cut out, you'll begin by placing the first end piece on the front panel, and glue it together. Using a 90-degree jig or a couple of speed squares with the tip cut off will hold it upright during the curing period. You'll want the piece nice and straight since this is making one of the four corners of the sump. Once this one is setting up, you can glue the opposite end piece in place. Give everything plenty of time to cure - there's no reason to rush this process and likely if you do, you'll end up with weakened seams.
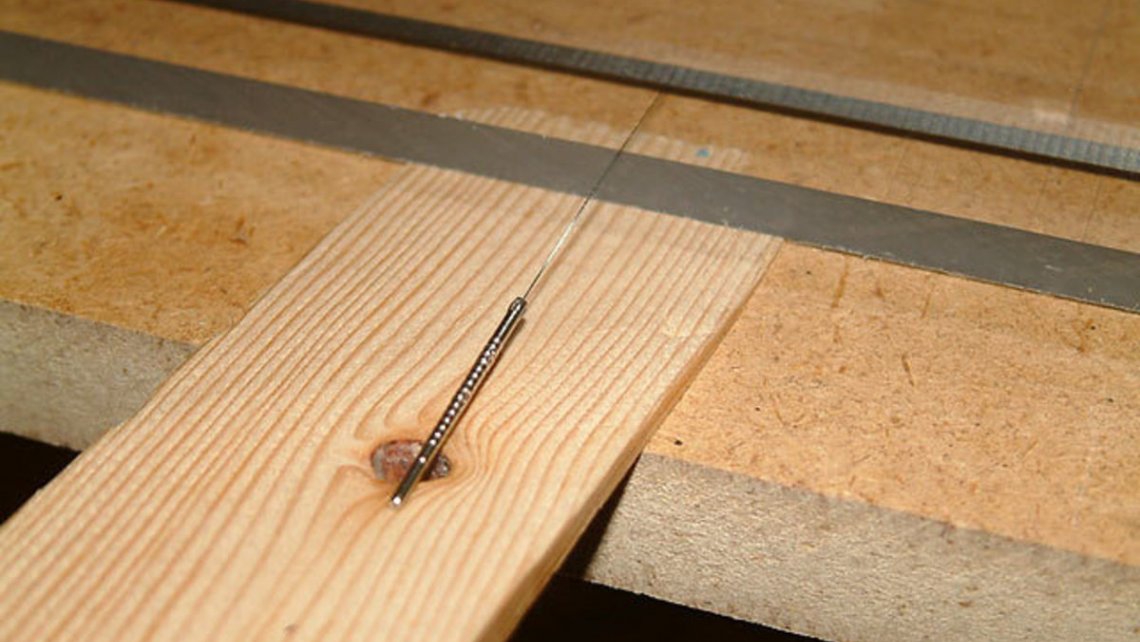
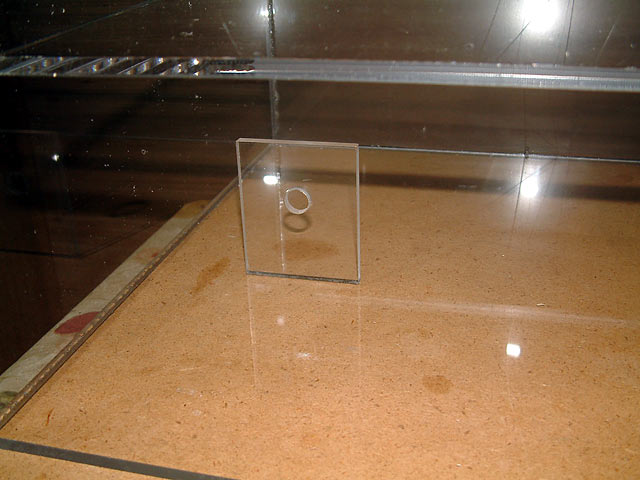
The internal baffles can be glued in place next. The following images shows how I use accupuncture needles to create a uniform gap for the solvent to fill before I even start gluing.
Gluing with accupucture needles.
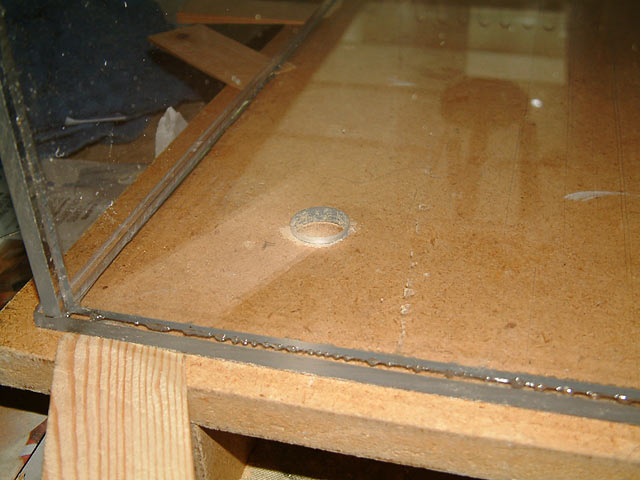
Accupuncture needles work nicely as they create a uniform hairline gap between the piece you want to glue to the panel beneath.
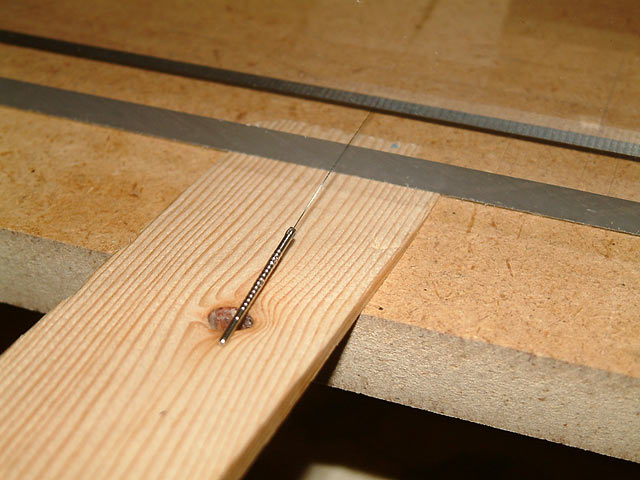
Every 8", I insert a .35mm accupuncture needle between the sump and the base. Next a shim is slipped under the base sheet, to maintain a snug hold of the needle. Once all the needles along one side are inserted and snug, I then apply Weld-On #3 into the seam.
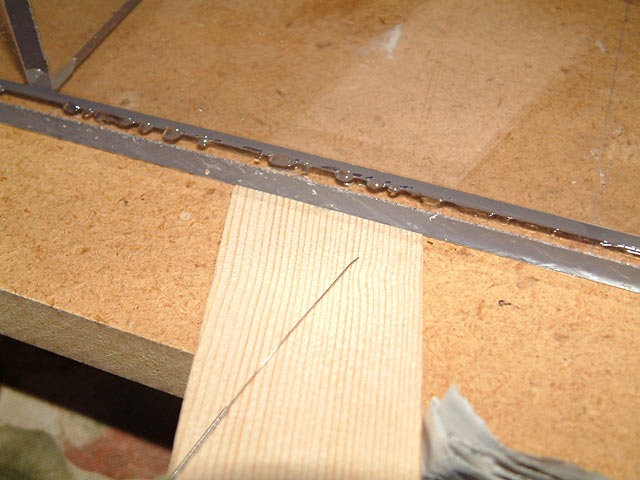
After waiting about 30 to 45 seconds, I pull out each needle, which allows the top piece to settle into the solvent-softened material. Any Weld-On that puddles out will be routed away later, leaving a nice clean edge.
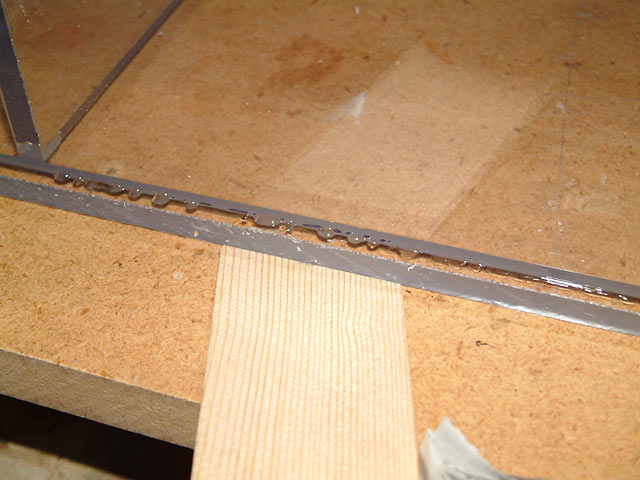
Next, each shim is tucked in slightly further to press the base snugly against the upright wall, to remove any airbubbles in the joint. Above, you can see a few bubbles, but once the shim was pressed in, those worked their way out of the seam.
Using this method all the way around the perimeter, I glued the top flange to the sump.
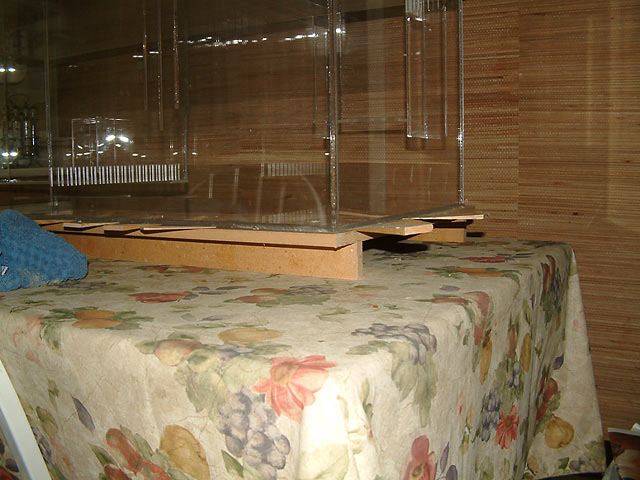
Do the same to glue on the base piece. You will see how I used weights to push together areas that weren't coming together cleanly. While it looks like I used a lot, only use what you must so as not to create a 'dry' seam. A good bond is key to avoid leaks down the road.
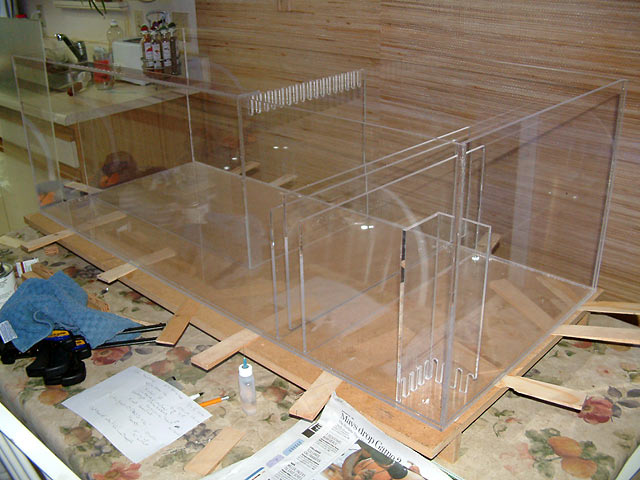
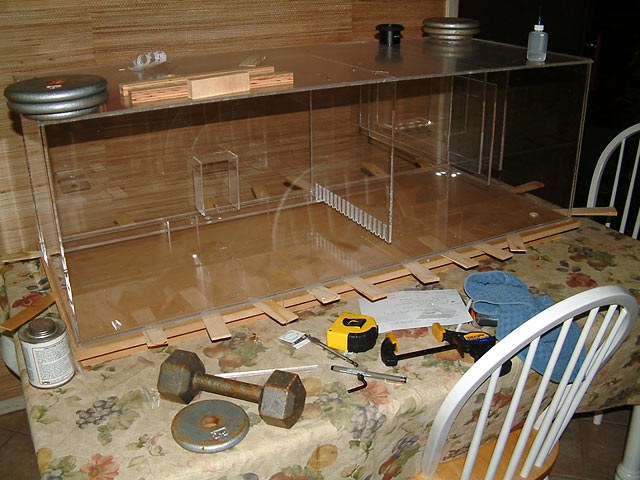
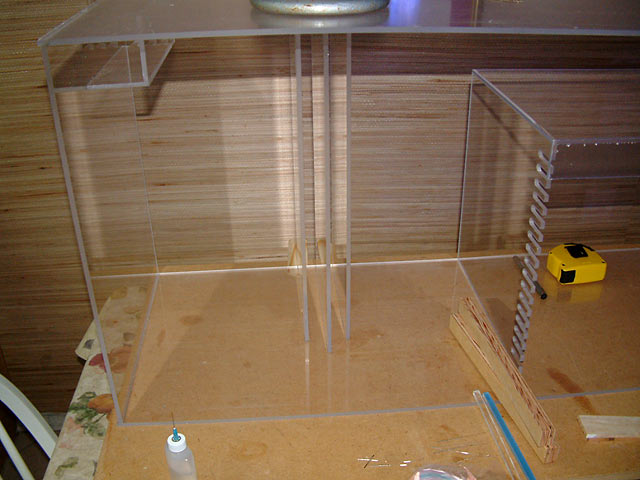
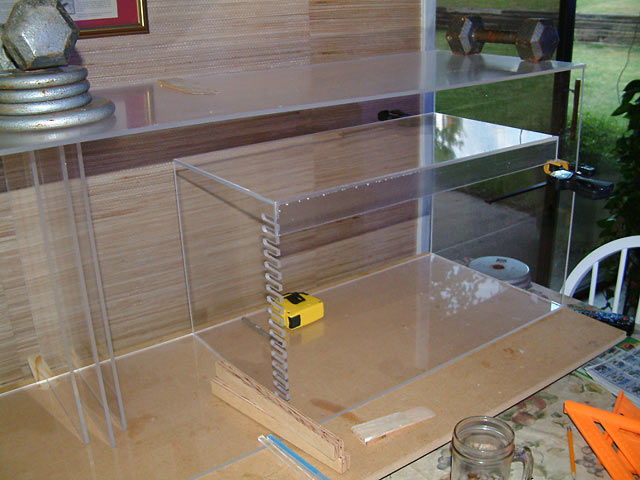
Internal sections
Using weights, equal pressure can be applied to seams. Don't apply so much weight that you end up with a dry joint; pressing out all of the solvent results in a poor bond.
The space between the baffles is 1" wide. The middle baffle is raised 1.5" from the base of the sump.
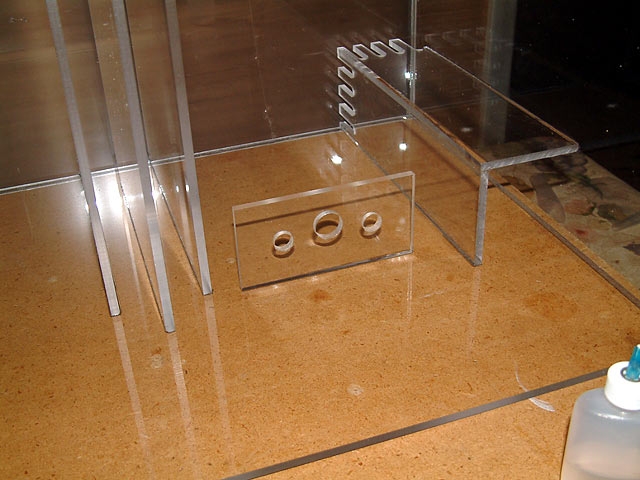
This refugium was pre-built and then glued into the sump.
While the sump was on its side, I glued the probe bracket in place, as well as a bubble tower. Both of these are in the skimmer section.
This bracket is for a float switch that would be used to automatically top off any evaporated water with fresh RO/DI water, glued in the return zone.
To avoid creating a vacuum within the sump during curing, I drilled a hole in the sump and platform before gluing. This allows air to vent in and fumes to work their way out. I made sure to drill the hole far enough inside the top panel to allow for a 2" flange later when it was ready to be routed. Alternately, create the top piece with the opening in advance, and glue it on first and later glue on the bsae. This way the sump is always ventilated, allowing it to cure nicely.
Give the sump 24 hours to cure before testing it with water. Within 72 hours it will be ready to install. If you see any areas of concern, you can apply a thin bead (more is NOT better) of Weld-on #16 to the specific spot(s) needed. Let it cure and retest.
Something with HTML textformat