Model "F" Sump
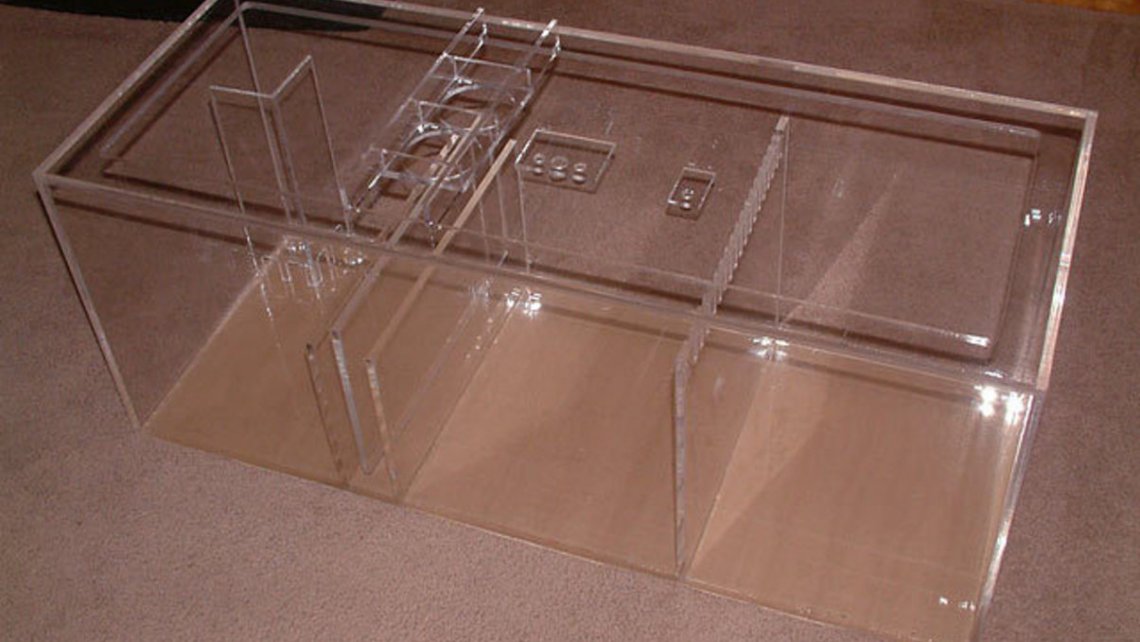
The Model F design is built as seen below. Water enters from both ends simultaneously and flows into the center. A submersible internal pump in the center section will pump water back up to the tank.
This has become the most popular of the sumps I build and is copied by many that want to make their own. I've seen stores with this similar layout under their display tanks because it provides beneficial filtration and incorporates a nice refugium zone.

Here's another made with 3/8" acrylic.
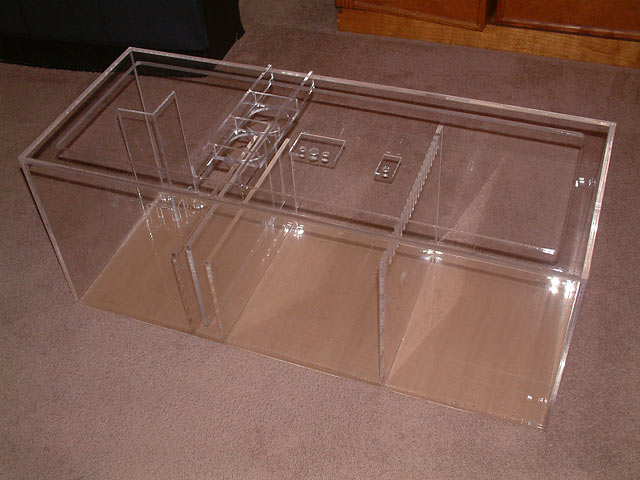
The fan bracket is an extra accessory to help cool the water.
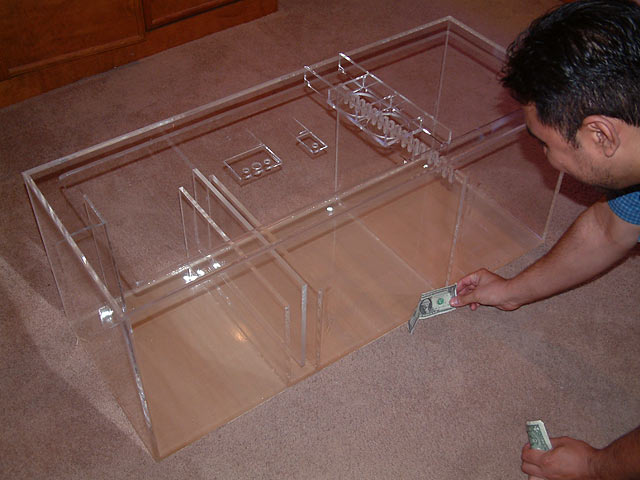
It takes a lot of those to get a sump. LOL - Just kidding. That was merely for a sense of scale.
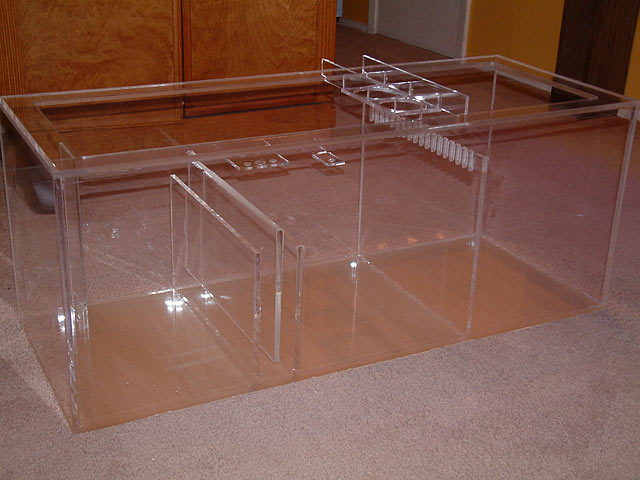
This sump is 40" x 16" x 16".

The bubble tower is designed to hold 6" of live rock rubble to break up the bubbles as water pours into this compartment (skimmer section).
Here's how one of these sumps was installed under a reef tank.
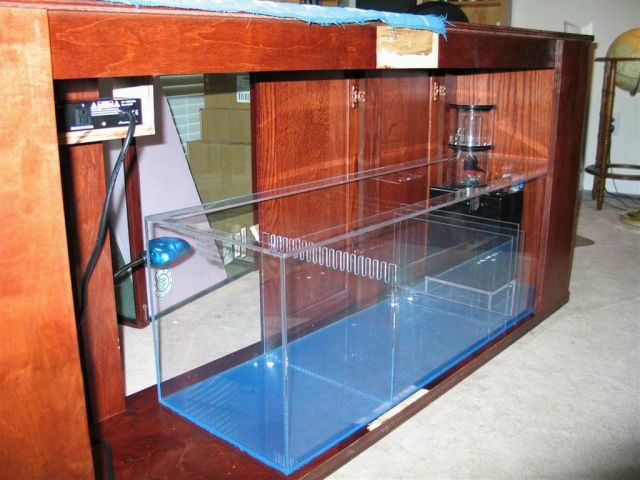
The sump was installed from the back of the stand. The center brace was removed to fit it in.
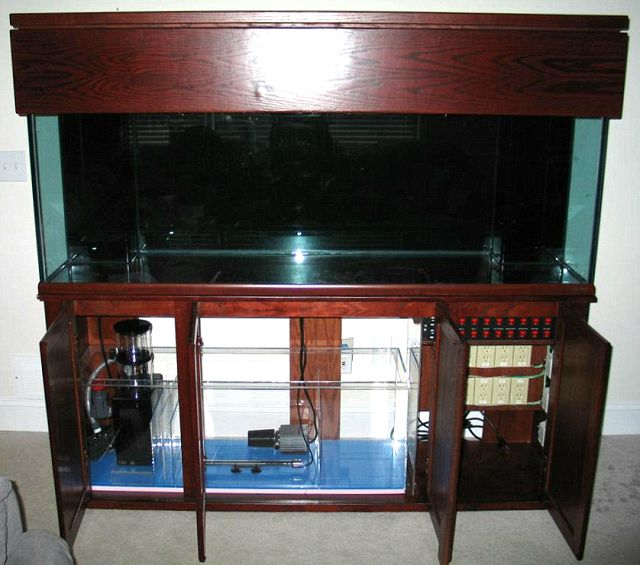
Sump in stand with the electrical panel to the right. An acrylic divider was installed to prevent splashing that section.
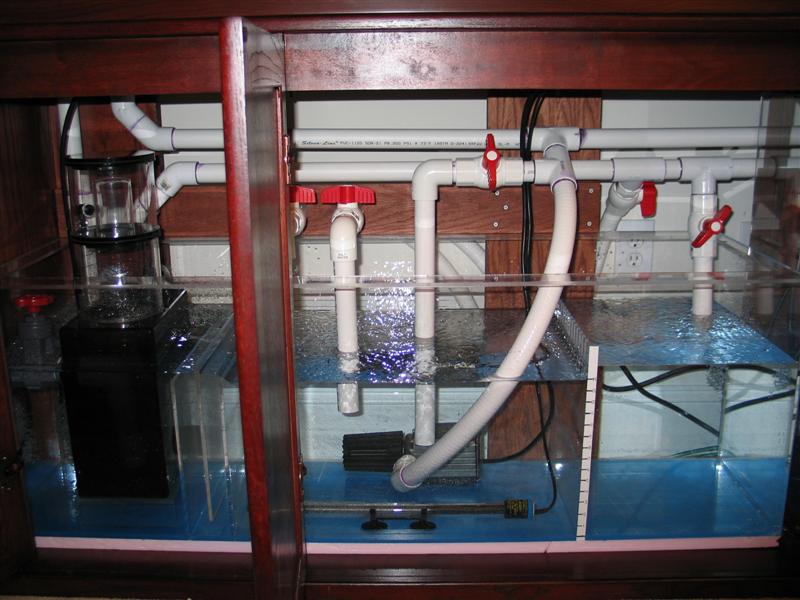
Plumbing
This sump is designed to receive water at both ends of the sump at the same time. 75% of the water drains into the skimmer section, and 25% of the raw tank water feeds the refugium zone and its pods / plant life. A tank with two drains makes this possible, but a tank with a single drain can be split to feed both sections as well.

Something with HTML textformat