Mon, 05/16/2005 - 22:12
Woohoo!!! The new sump is finally running!!!!!!!!!
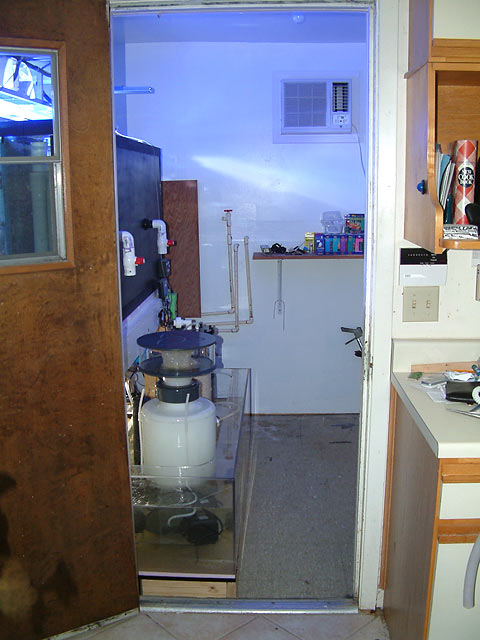
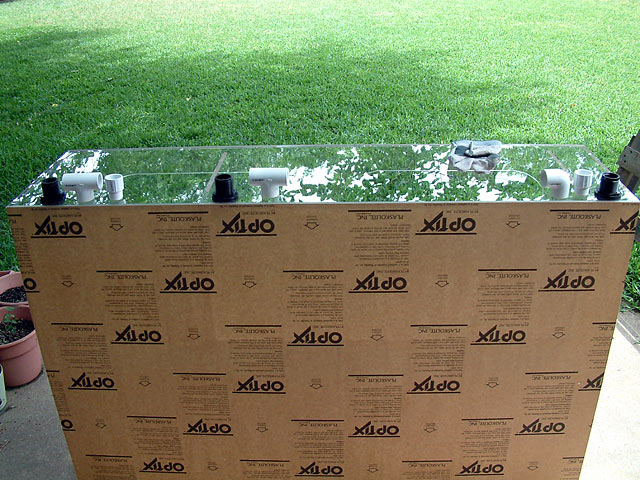
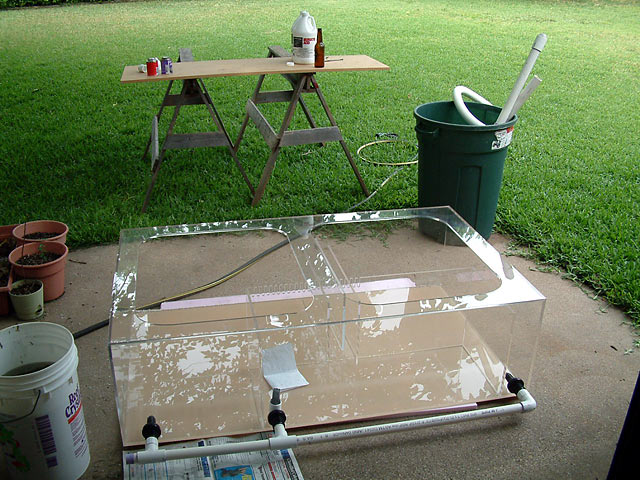
For 8 months, all I've talked about is the new sump I was going to build. At last, it is done and installed.

The doorway got a little more crowded, but I'm happy.
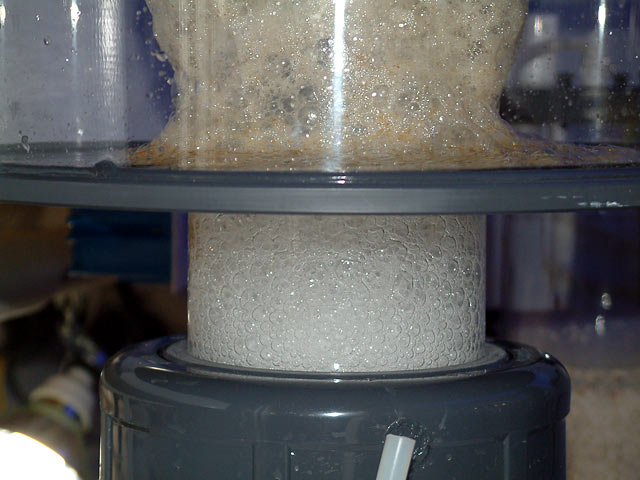
Here's what the skimmer pulled out within 20 minutes of the sump running.

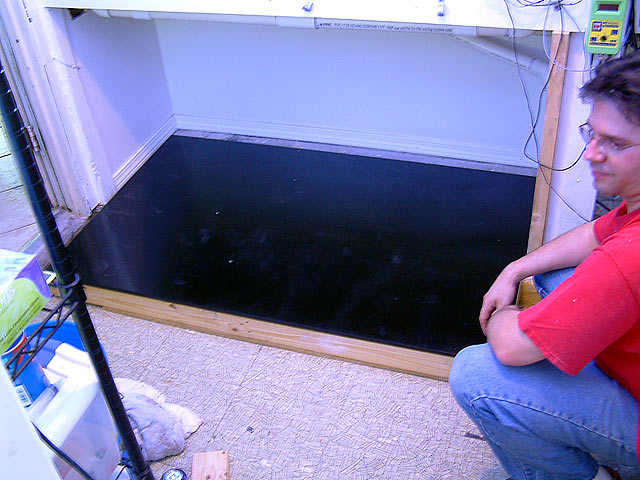
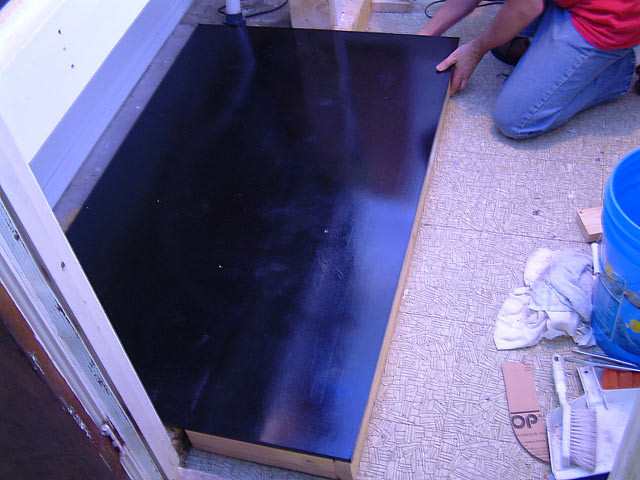
Here is the platform that was installed before the new sump went in. It was treated MDF, with a coat of polyurethane on all sides and edges.
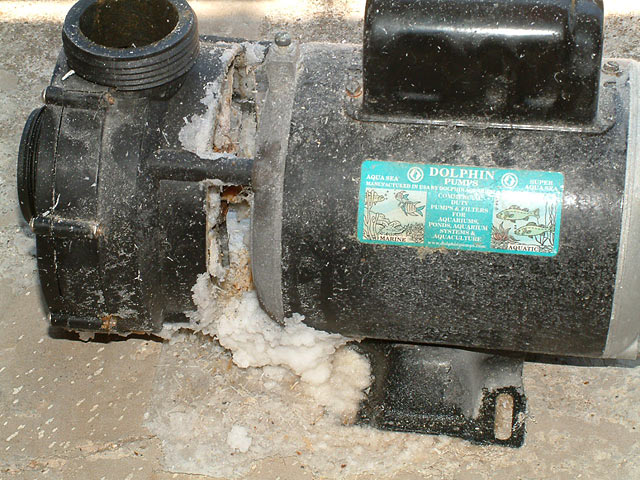
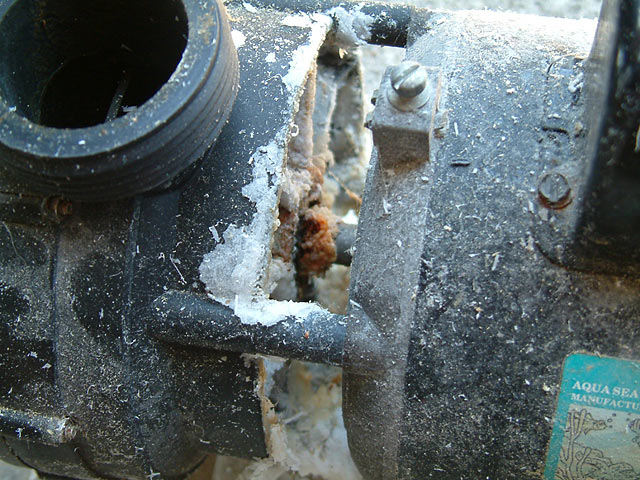
And here is the Ampmaster Dolphin 4700 that I'm retiring at the moment. At the very least, it needs some type of repair, I guess. Maybe the warranty will cover the salt creep issue?

Here is how the plumbing was soaked. Btw, I think I learned something new about muriatic acid. It apparently doesn't mix all that well, and thus it made clean up a real tough job. My guess is that 2g of acid sat at the bottom of the 20g of water, and never created the acid wash I intended. Next time, I'll drop a running pump in there to thoroughly mix it.
The reason I know this wasn't mixed well is because when we dumped it out, my yard started sizzling non-stop, while nothing that was put in the barrel bubbled at all. I had to rinse my yard for 10 minutes last night to avoid killing plants and trees.

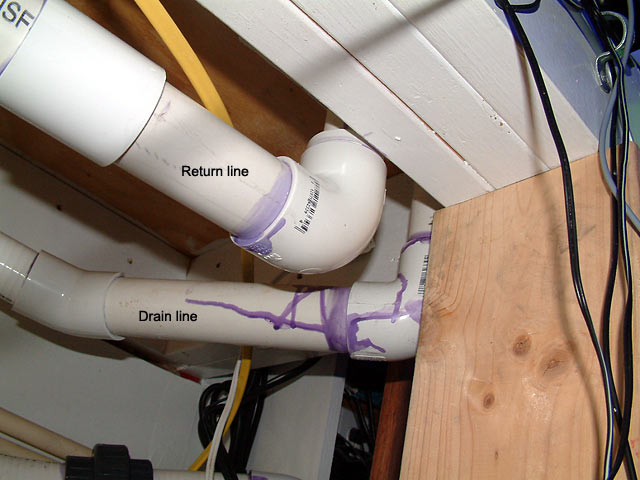
I wanted to make water changes easier, so I intentionally designed the sump to drain all compartments via some plumbing in the rear, out of the way. However, I didn't think it out completely, because as I added water to the refugium, I quickly realized that the water level would level out in all sections due to the combined drainline. Pretty dumb move on my part, but not so bad that it can't be resolved.
Here are the three 1" bulkheads, with some plumbing fittings I was about to use.
Each bulkhead has a screen to keep bigger stuff out of the lines, like wandering snails, urchins, peppermint shrimp, or even a lost fish.
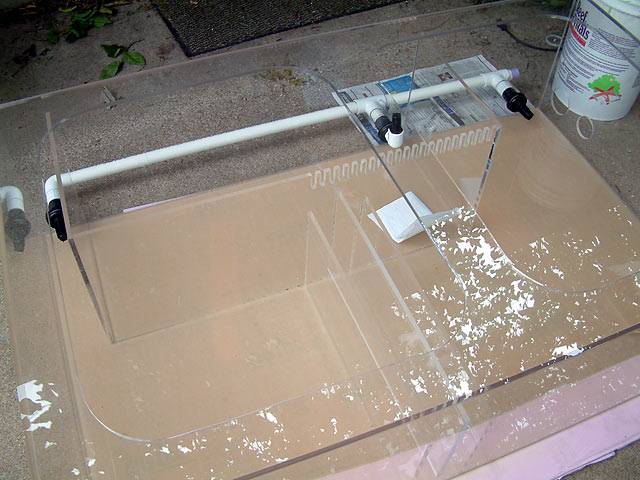
The refugium has an elbow to turn the screen upward, to avoid sucking in any sand during a water change.
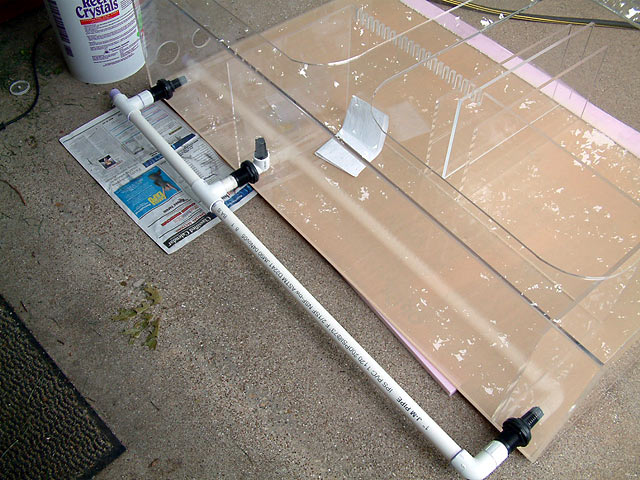
So there it is, ready to install. Again, this was designed incorrectly, and doesn't work as planned.
What I'll do in a couple of weeks is drain the sump, pull it forward, and cut those plumbing mistakes off. I'm going to run three independant lines to a common drain line. Using three gate valves or ball valves will work, but I'm playing with the thought of using sprinkler electronic valves instead. The price isn't too bad. Three valves would run $11 each, plus a simple controller for $20. There is enough room to use them. I'm thinking it would be wise to unplug the control panel when not in use, to avoid those accidently opening up during a power surge or other electrical event.
The new return pump is a Little Giant. I don't know the model number by heart, as it is a random #. Forgive the mess...I'll tidy it up later.
Here are some differences.
Ampmaster 4700: Intake 1.5" - Outlet 1.5" GPH is something like 4000gph, although I think I was getting 3600gph in my reef.
Uses proprietary fittings or connections, which really are a headache to reuse. I may have to order more instead for the day I have to use this pump again.
Little Giant: Intake 2" - Outlet 1.5"
Normal fittings. 3000gph, which is just fine. Runs absolutely silently.
Btw, let me just state that it really sucks when you get everything done, and turn on the pump and it does nothing. Nada. Zilch. Zip. I moved the plug to three different outlets, inspected the driveshaft that I could not access anyway, and then on the third attempt it fired up. I really didn't want to have to drain water from the sump, close off the plumbing and take the pump offline only to figure out that it would start fine once disconnected. :( I'd tested it yesterday for 10 seconds dry, and it started right up. If this becomes a regular situation, I'm going to be really upset.
The new sump has to return pump bulkheads. There is a 1.5" one, ready if needed, currently plugged on the inside and outside to avoid any leaks. (Hope they work.) The other bulkhead is a 2", which I'm using for this pump. I suppose I could have just used on bulkhead, and downsized when necessary, but I had the room and felt it might be easier one day.
The return plumbing over the LIttle Giant won't work on the Ampmaster, so if needed, I'll disconnect the unions and insert a different return section at that time. Not exactly plug and play, but definitely reconfigurable if needed.
I have to buy more locline. I found lots of cracks in several joints. Perhaps the acid ruined these, I"m not sure. Oh well.
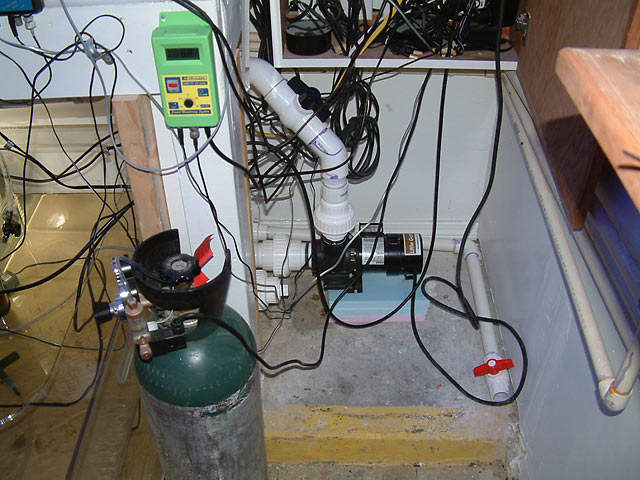
The Calcium Reactor is in the sump now. I like this because it clears up some floor space, shortens the tubing going to and from the reactor, and if there is a leak (like a few weeks ago), the water stays in the system and no more water is added via top off.
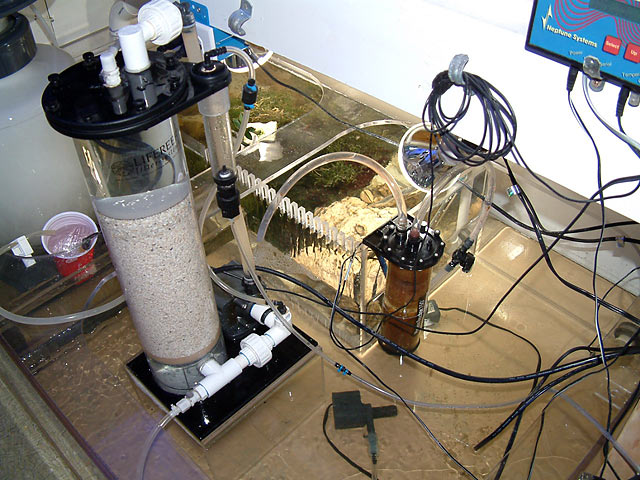
Currently, the entire reactor is on a stand where none of it is in the water. However, I probably going to make a secondary stand to lower it in the water during the winter months. The heat from the Mag 7 will warm up the water sump, which is running anyway right? Might as well use it instead of paying for a heater to do the job.
Btw, without the sump running for the past 24 hours, the tank didn't even reach 80F today. Last night, I put heaters in the refugium and in the display, but totally forgot to flip on the heater switch on the power center, so they didn't turn on until 3am. The tank was 79.1F, so it wasn't a big deal, but I was surprised at first to see the temperature dropping with heaters hooked up. Glad I caught that little error early enough. It should be interesting to see how much heat the new pump generates.
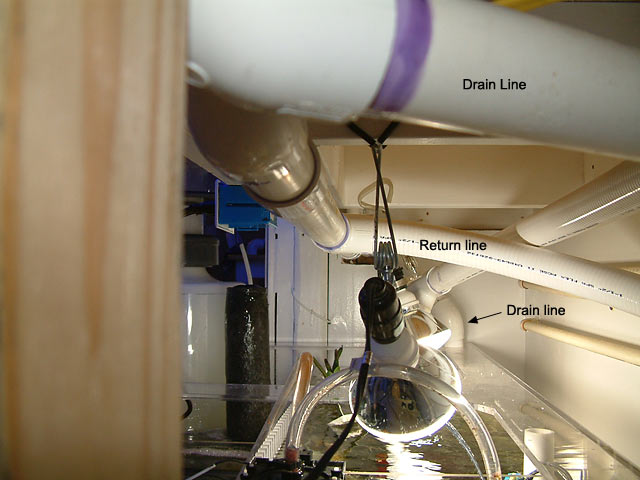
Next, I'll explain the plumbing connections.
The return plumbing starts at the pump, or return pump. I've used PVC and Spa Flex tubing to create an easy design that maximizes flow. Any extra connections and more friction and reduce flow, but you'll see a few extras since I reused some plumbing. If you are starting from scratch, you can probably skip a few connections to keep things nice and tidy.
Note the text in each image to help identify some of the plumbing parts.
The pump pushes water up through a union, into a ballvalve that can be closed or adjust to throttle back the flow. From there it goes into spa flex tubing. A union allows me to remove this entire section if necessary.
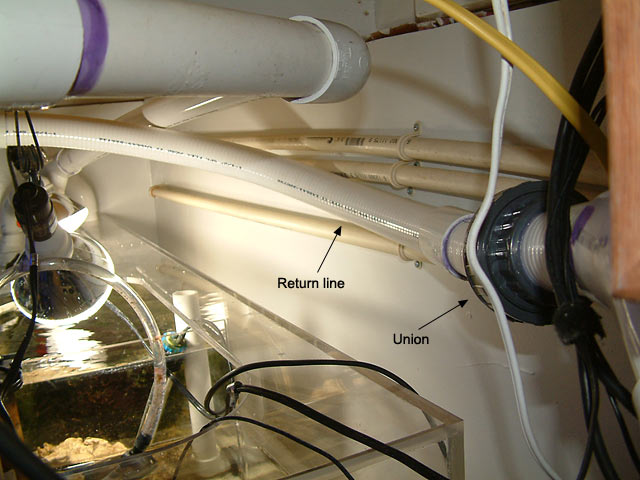
This sweeping curve then leads into a Tee fitting. All plumbing is still 1.5" at this point. You'll also see one of the drainlines in these images, from the right (rear side) of the tank, which flow to the left (far) end of the sump.
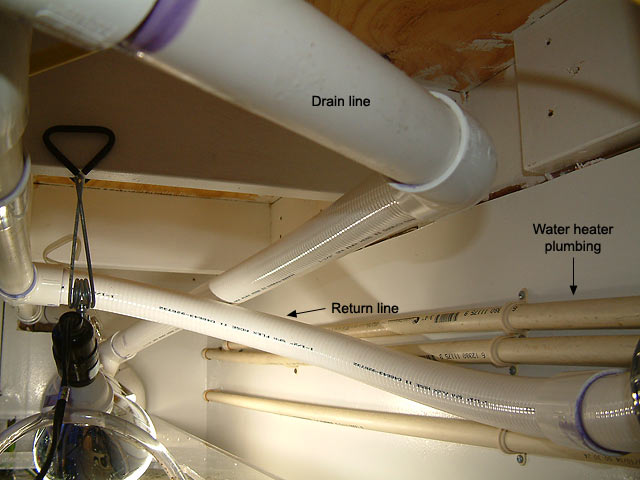
You can barely see the second drainline in the back corner, from the left end of the tank.
The ballvalve you see allows me to control how much water pours into the refugium from a single drainline. The rest pours into the skimmer section.
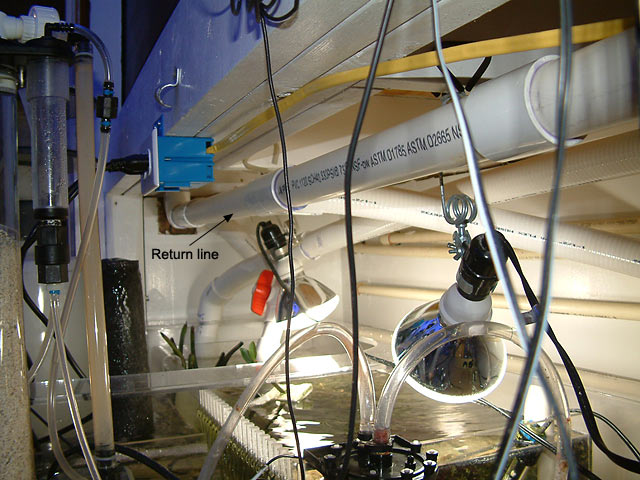
The water is evenly distributed through this 1.5" rigid PVC to both ends of the tank. Here is one end, on the right rear of the tank. Note the elbow pointing up is 1.5".
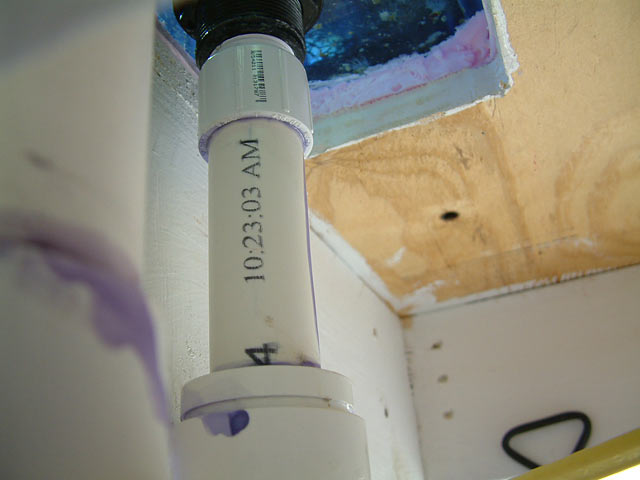
At this point a bushing is glued inside, then a 1" pipe rises up to the 1" bulkhead.
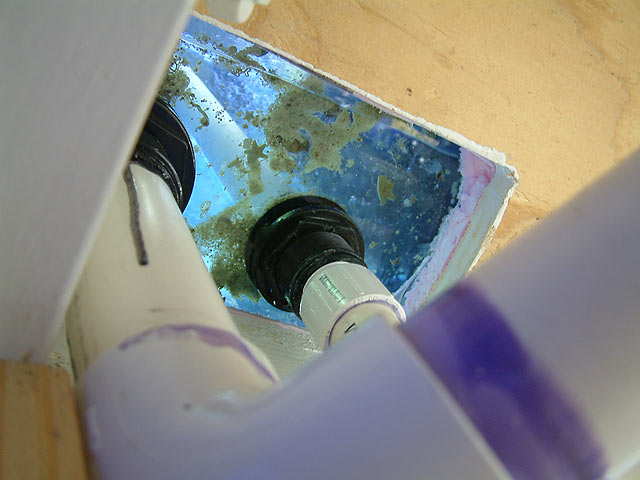
Best of all, no drips!
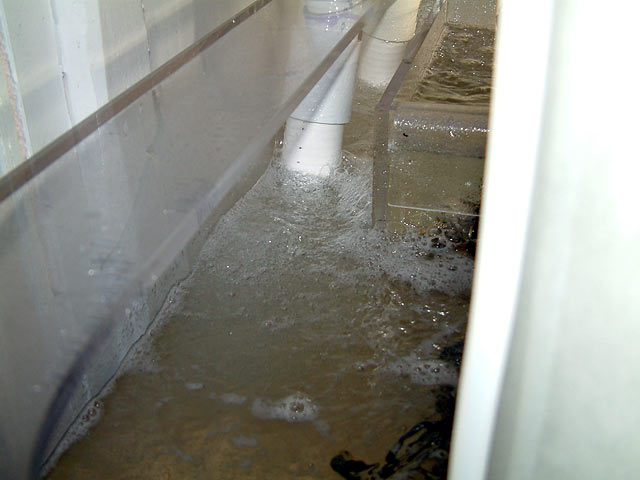
Here is a picture of the water entering the left rear corner of the sump, quietly and without creating a billion bubbles.
The loudest thing in the sump currently is the Euro-Reef riser/overflow tube. Once that is modified, the fish room will be pretty quiet overall, as long as the window a/c unit doesn't start making strange noises.
Btw, as a friendly FYI:
Don't spill purple primer on acrylic. During the connection of the drain line over the sump, I accidentally bumped the item the primer was sitting on (I did think to put something to catch drips), and the can splashed out some primer on the acrylic. It was wiped off within 20 seconds, thanks to Keith, but the acrylic crazed with a bunch of micro cracks in the flange. Disgusted, was I (in a Yoda voice), but oh well. I guess if any fool tries to break in an steal my sump one day, this will be the "identifying scars or birthmarks" the police tend to ask about. The sump isn't discolored by that product, but it definitely can ruin acrylic if given the chance.
Since the new pump has been installed, the reef temperature runs 79.7 to 80.2. Maybe it will be easier to keep the tank cooler this summer versus last year.