Acrylic work: Routing Acrylic Projects
Working with acrylic isn't very hard, but you do have to be meticulous. Straight cuts are important, and the smoother the edges you achieve, the better your joints will bond. Many people wonder how sumps are assembled and don't realize that the bonding agent literally welds the two pieces into one piece with a chemical reaction that melts and merges the material. You need a triple cut (ATB) blade with 80 or more teeth for a clean edge.
I use Weld-On #3 for my joints, and #16 for gaps as well as in seams that I feel need a little more reinforcement. Looking for extended tips at the local hobby shop, I was able to force a long nozzle on the #16 to better control the amount of glue coming out because it had a smaller diameter tip.
Weld-On #3 needs to be applied with a needle applicator. This fluid is like water in consistency, and feels cool when dripped on my skin. It doesn't burn or glue flesh together like Super Glue does. By the way, silicone is not an option when building a sump or any other acrylic project. If you are working with glass, silicone is the stuff to use. Not with acrylic.
Usually when I build my projects, I work alone. All the cuts are made outdoors, along with anything that is routed. Once my pieces are ready, I bring them in to assemble the unit on my kitchen table where conditions are stable. Working in the sun, wind, humidity or cold can all contribute to issues, including general discomfort. If you choose to work indoors, cover your surface with a sheet of MDF to protect your furniture. Acrylic can be quite sharp and will scratch surfaces remarkably well.
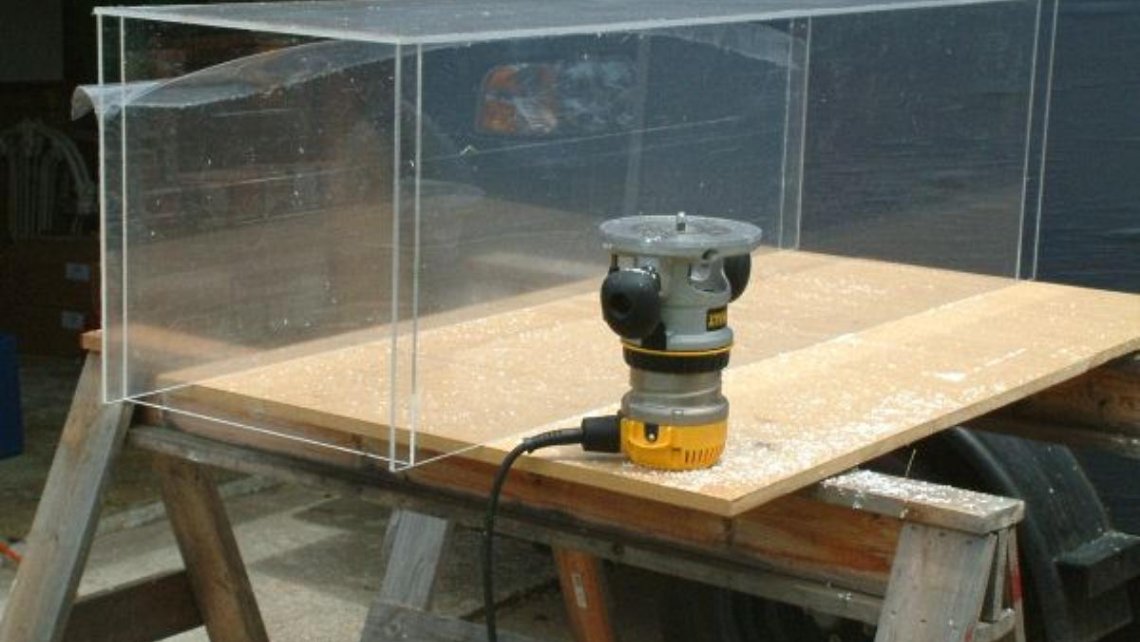
A couple of local hobbyists came over for the weekend to build their own weir and sump. After cutting and heating their acrylic to bend it to the shape they desired, it was glued. Once it had time to cure, it needed to be routed. Here is a picture of it before routing.


The router table is clamped to the surface to keep it steady. Router switched on, the project is worked around the router bit to trim off the excess acrylic as the bearing traces the project. Since there is no room for safeties, mind your hands.


Note the bit is raised up only high enough to trim the thickness of the bottom piece.

The bearing affixed at the end of the bit rolls along the edge of the weir, guiding the cutting blade.

And this is what it looked like once it was drilled and the DIY bulkhead installed.

|
When it comes to building a sump, I like to oversize the pieces, and route them once it is assembled and cured.
|
Here is a rimless sump that has been assembled and ready to be routed. Note the end of the sump - the end piece seems recessed, but it is not. All overhang edges extended past the end piece will be routed off, leaving clean corners and edges. The ends are excessively long in this image, all it needs is about 1/4" extra.... which is trimmed off via router later.


Using a helper to keep the sump in place is a good idea. The bearing on the router bit will follow the walls of the sump, providing a beautiful edge once done.

Just finishing the last corner, you can see this sump is ready to fill with water to check for leaks.