The new frag tank is running!
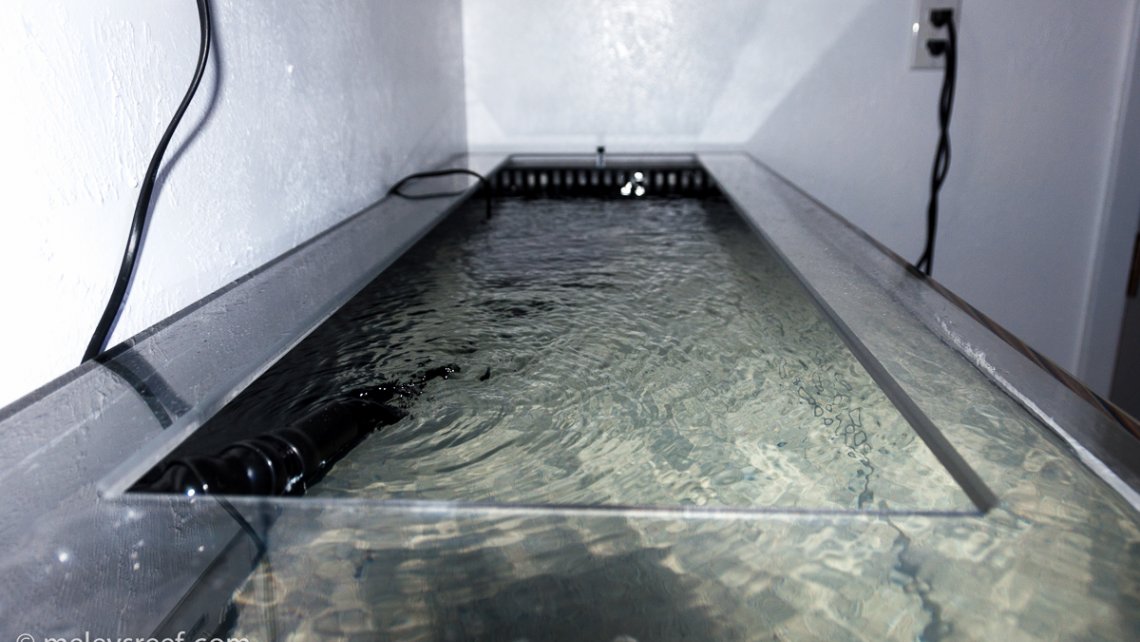
After about a year of saying I needed to do this, it's finally operational. The stand, tank, sump, ATO reservoir, doser container are all built (by me). Plumbing was accomplished and the new Vectra M1 pump is circulating the system. Here are some pictures, less than a day after water was added. The skimmer cleared the water overnight.
This is a stand alone system, apart from my reef. I wanted it separated in case something in the main tank went wrong, I'd have backup pieces available. Plus I can sell fraglets this way. And finally when I'm asked to do product reviews, I'll have a normal sized system to use them in. I built the tank myself, which I'm very proud of. I've shied away from display tanks for many years, but perhaps that will change.

Good surface movement.

The tank has two Durso standpipes to drain into the sump. That section has a black lid to keep algae from growing in there.

I love how quiet it is. Usually it takes 14 days for plumbing to slime over internally to quiet down. The tiny bit I'm hearing now is going to get better?!


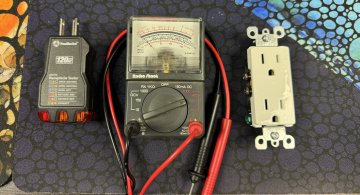
At the moment, only three things are plugged in: the skimmer, the return pump and a heater. Combined, they add up to 140w of power, or 1.4 amps.

I love the look of everything.

There is still quite a few things to do before coral frags can be placed in it, but the hardest part is behind me. The Vectra M1 pump has really impressed me right out of the box. My initial thoughts last night were:
- Small, clean, lightweight. The blue bushings look nice, but I'd truly prefer it if the socket was taller to glue the PVC into 1" of material instead of merely 1/2" of blue plastic. I made sure to glue a perfect connection considering how little surface area was available, and let it cure for several hours before immersing in water.
- Reeflink found it easily on the first attempt.
- Calibration was simple. I tried to do it from my Macbook Pro, but walking back and forth to update it after checking the pump at each stage didn't work. Instead, I used the ESL App, and had it taken care of within 2 minutes.
- The return line from the M1 pump is 3/4" and my plumbing is longer than I'd prefer. It rises 10", then travels 9" at a 45° angle, then 28" to an elbow, then 19" up to another elbow, and then finally enters the tank via a bulkhead and out the locline. The tank has two 1" drains, and when I turned the Vectra to 100% flow the drains were not going to keep up with the serious flow coming out of the locline. That was impressive. Glad I calibrated the pump to avoid it ever jumping to that rate.

- It's dead silent with no vibration. I'm hoping it will run flawlessly, and I'm ready to hookup a battery backup as soon as this becomes available.
I still have a number of things to do:
- Get it cycling.
- Order a SmartATO kit for this setup
- Order some Icecap dosers for 3-part solutions
- Run RO/DI tubing from the current feed to the ATO reservoir
- Install lighting - Radions
- Install shelf above tank to suspend said lighting
- Install Apex PB-8 and connect it to the current Apex with a PM2
- Clean up wiring and secure electronic components
And once all that is done, move excess corals from reef into this system and grow out some frags.