Hanging the Radion Gen2 Xr30 fixture
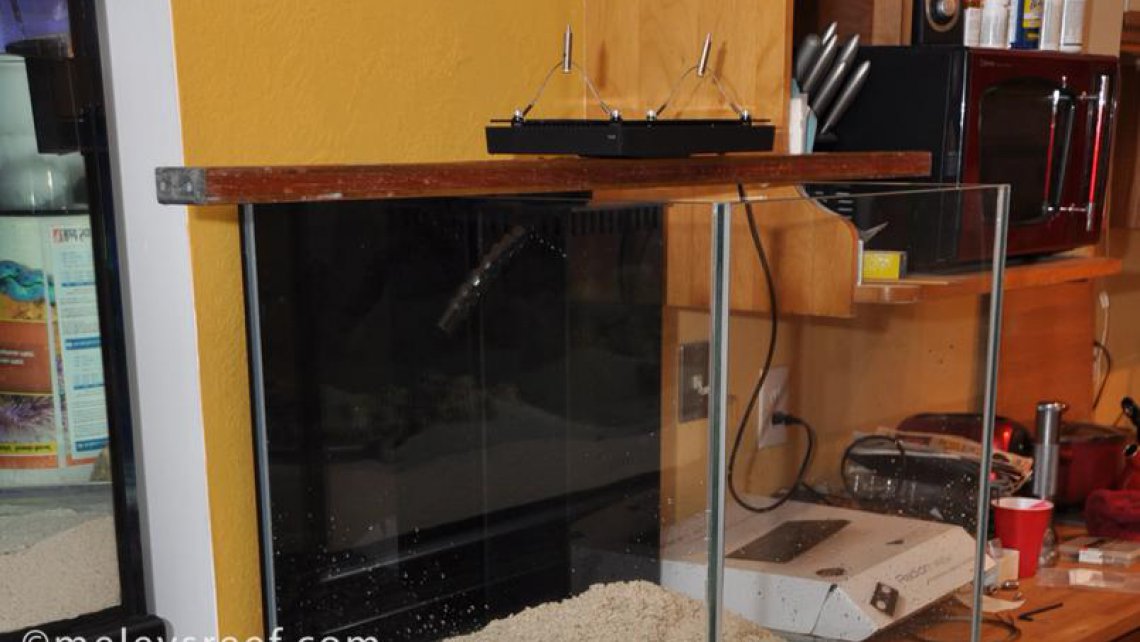
With the 60g on the stand, leveled and positioned near the wall - I left a small gap behind the tank to avoid salt-creep damage to the sheetrock - I needed to determine where to hang the Radion LED fixture over the tank. Using a 4' level, I placed it across the tank and set the light fixture on top. This permitted measuring the fixture from all four sides to get it centered. Hence, I was able to ascertain the distance from the rear wall and the right wall precisely for the hanging kit (pictured above).
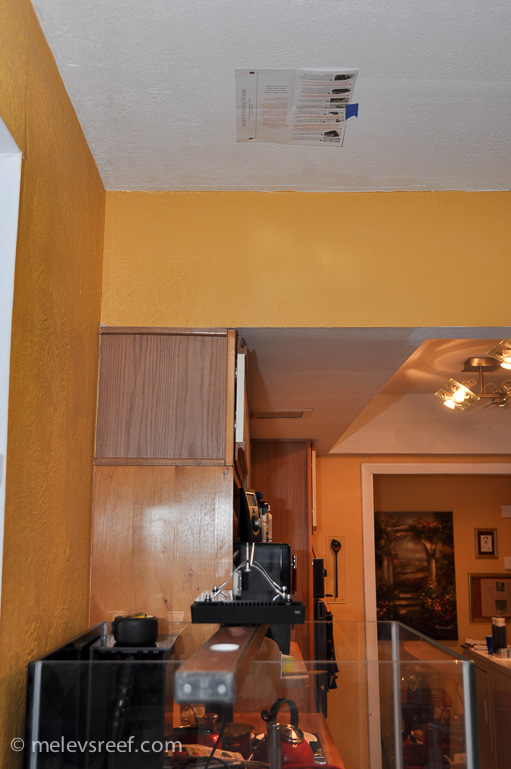
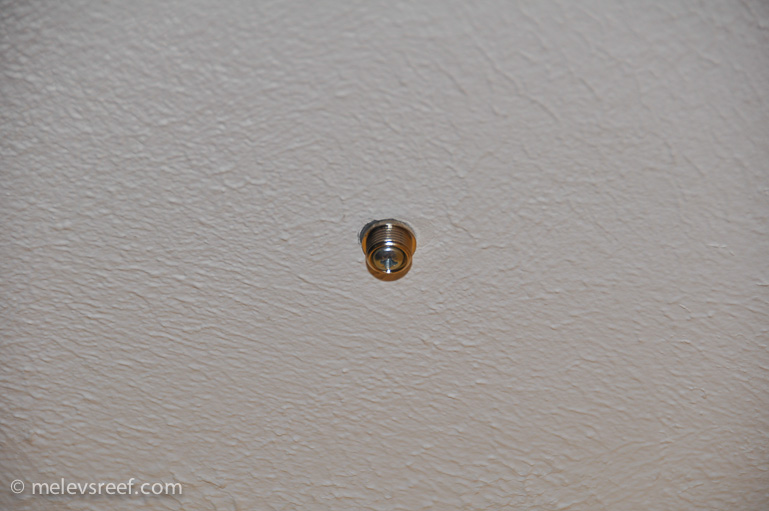
The Radion Hanging kit comes with a paper template. Holding the template on the ceiling, I moved it into place by putting the targets at the predetermined measured points. 9" from the right wall, 13.25" from the back wall. Thumb tacks were pressed through the bullseyes, essentially marking the ceiling with two tiny dots.
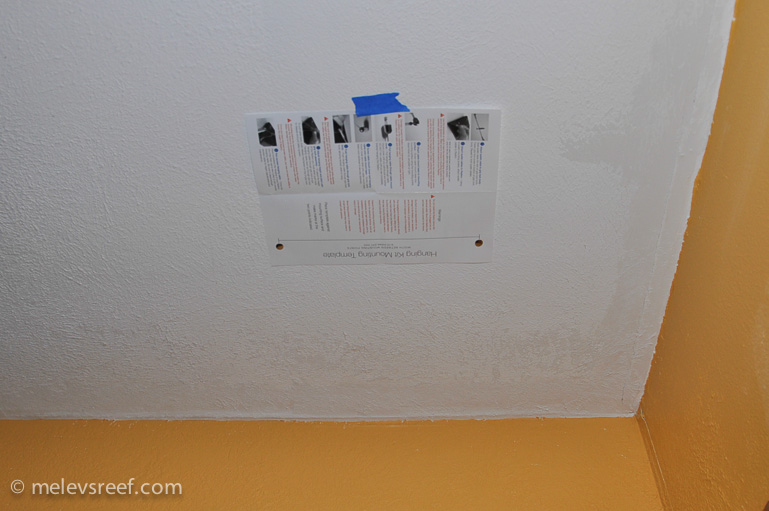
A quick visual to double check that it looked right, I tried to align those thumb tacks with the center of the Radion hangers before proceeding. It looked perfect and I was ready to proceed.
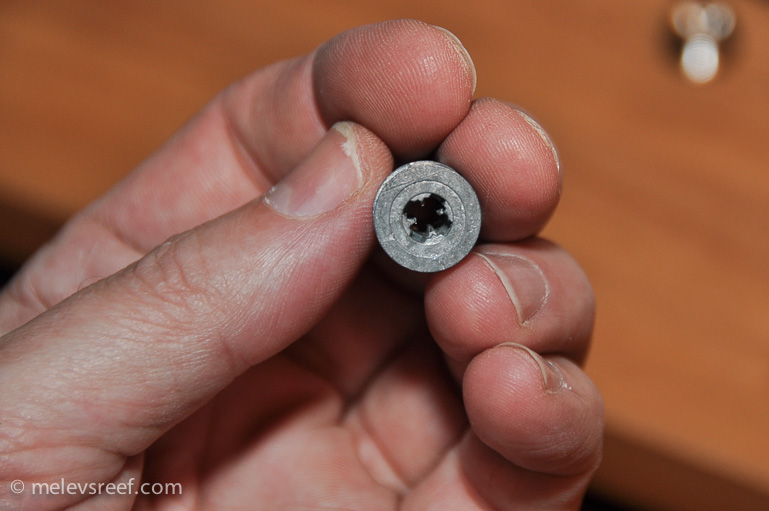
The kit came with screws, cabling, and adjustable hangers. It came with the ceiling connectors, but not any type of anchors, mollies, or butterfly toggle bolts. What I had in my garage are called SnapSkru wall anchors. They are very easy to install and hold nicely.
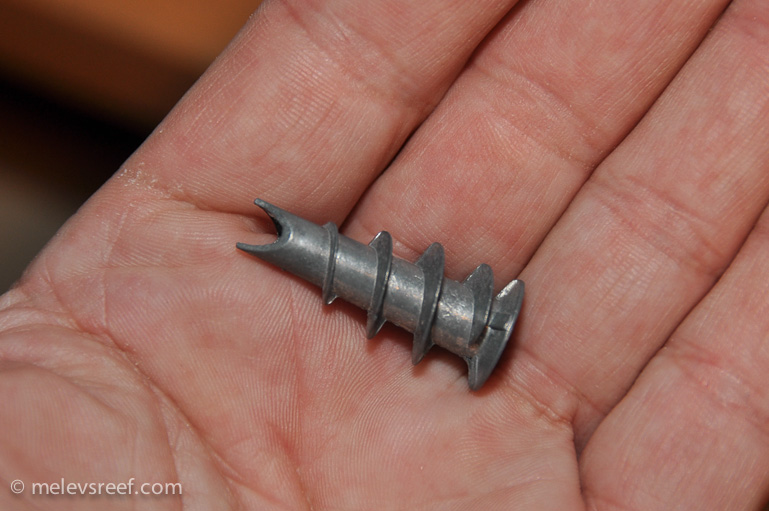
To install one, use a Phillip's head screwdriver, preferably with a drill.
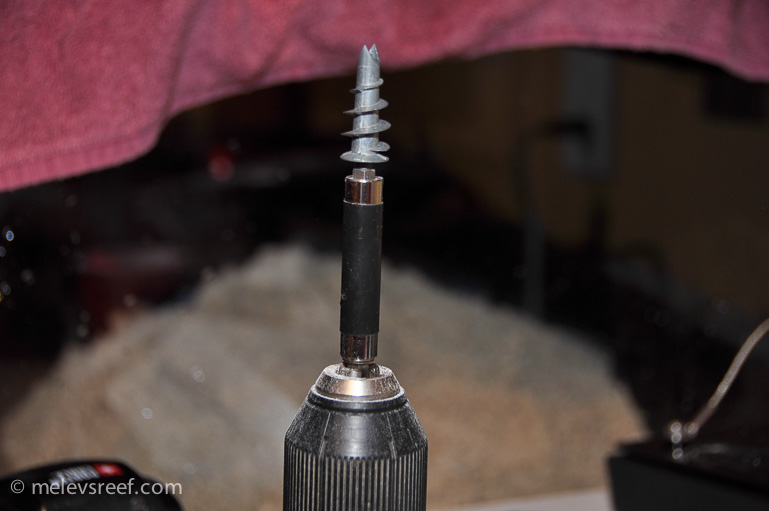
Place it against the sheetrock, and pull the trigger slowly to let it carve its way into the drywall.
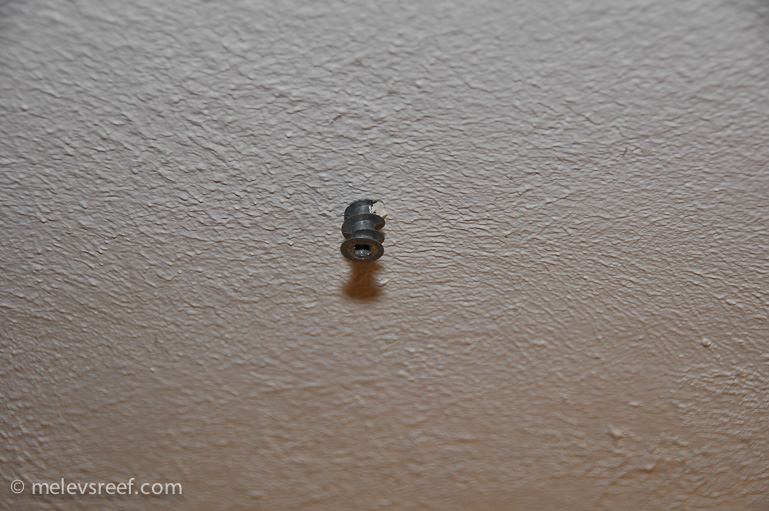
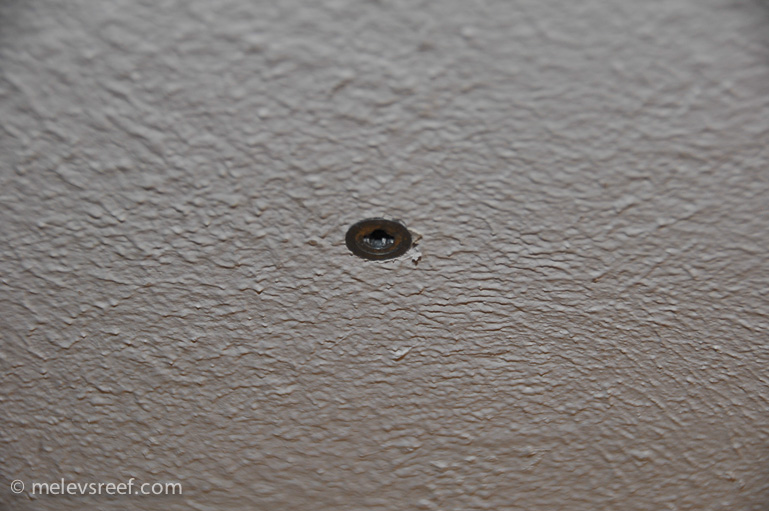
If some day this anchor needs to go, it can be unscrewed out of the drywall and quickly patched with spackling paste.
The hanging kit didn't include the screw to hold it into the anchor, but I had that as well. A 1" panhead steel screw was used to secure the threaded hanger piece. So, keep that in mind that you'll need some type of anchor and screw in addition to the Ecotech Radion Hanging kit.
I should have mentioned that if you are working over your tank to install something, cover it from any falling pollutants. I used a big towel to catch the drywall bits falling down.
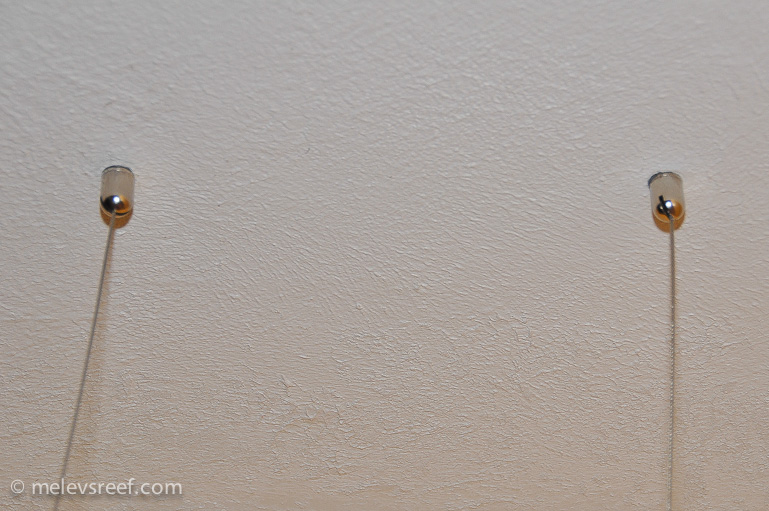
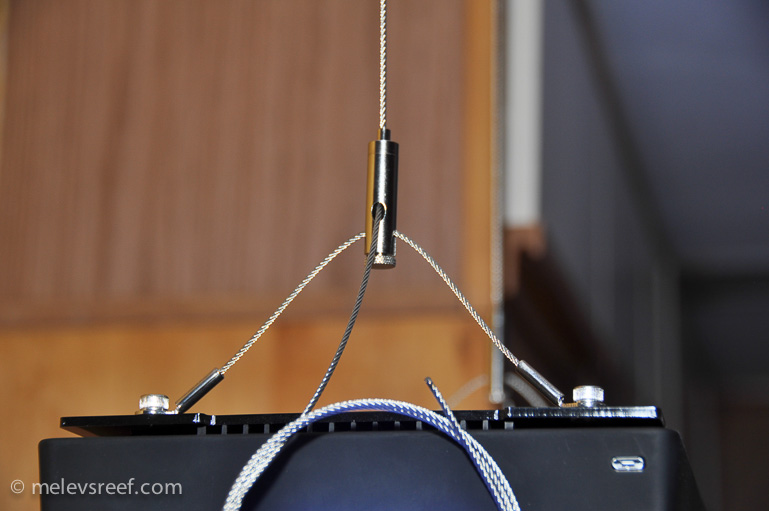
I threaded the cable through the slotted cap for each screw. One end of the cable has a large aluminum stopper that rests inside the cap, and the other end is bare to feed into the adjustable hanger on the light fixture. The reason the cap is slotted is for installations on angled ceilings.
The slotted caps screw on to the threaded section.
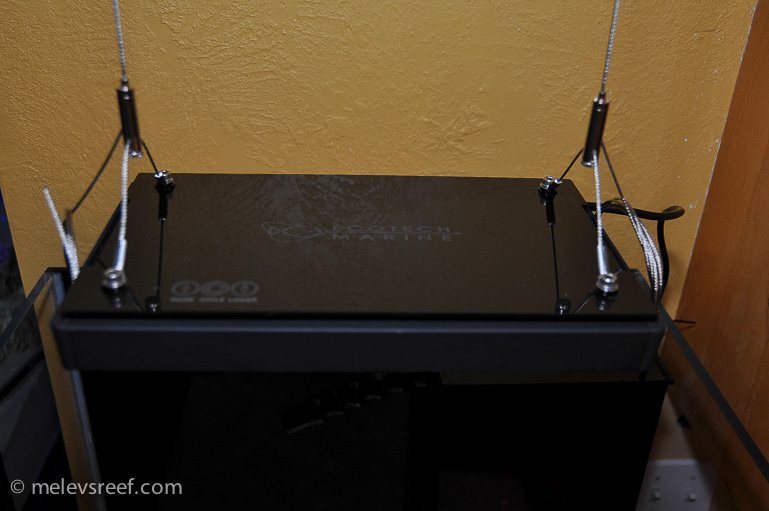
The screws and loop tether were bolted to the light itself before I installed the ceiling hangers. The kit included the allen wrench.
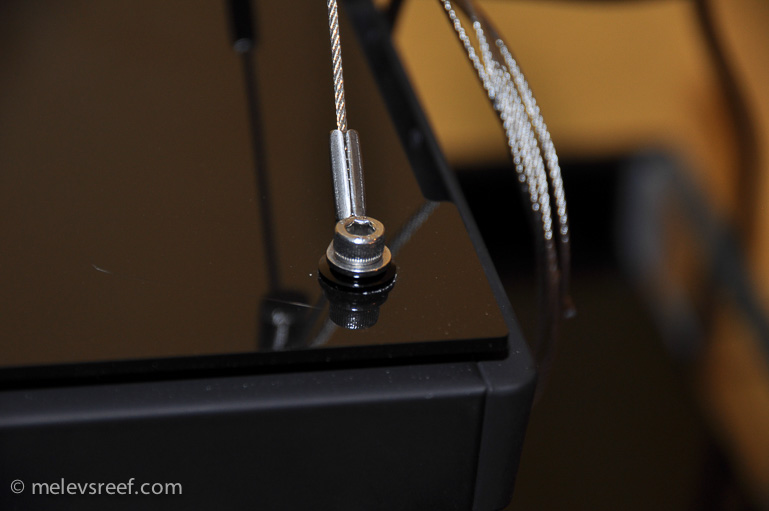
The cables dangling from the ceiling were inserted into these adjustable hangers, and fed out the side.
I had some help getting this part done. If you don't have a second person, place the light on a supporting cross board to get the cabling inserted. Once done, you simply pull the cable as you lift the light up the cable - one side at a time. To lower it, press the tiny button near the top downward into the steel adjustor, and it will begin to slide downward
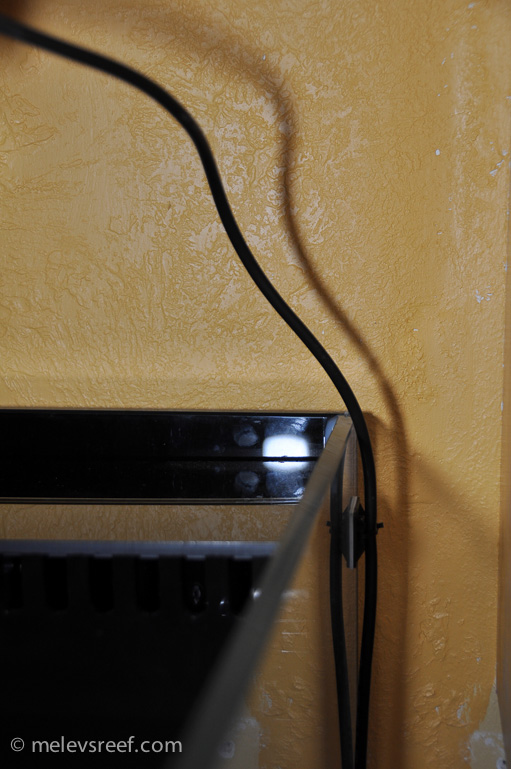
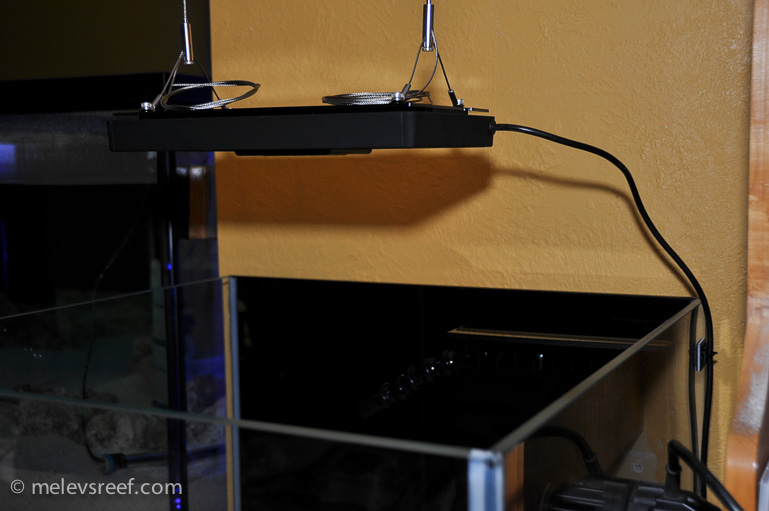
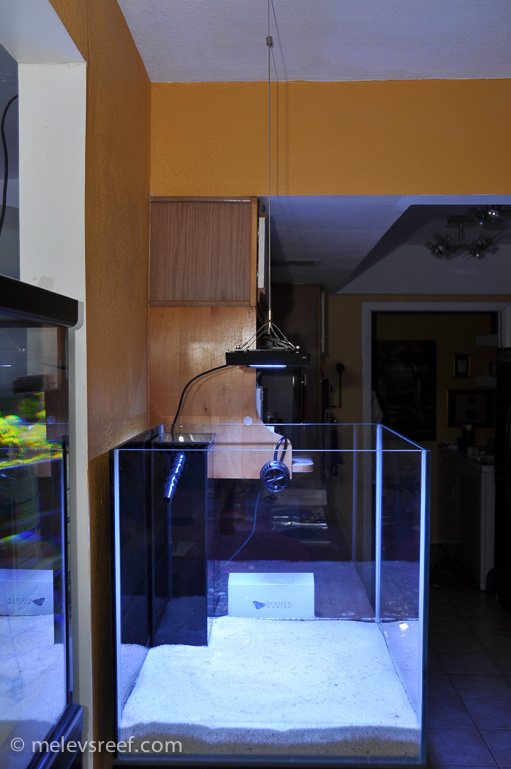
The power cord does create some imbalance, so I used a sticky & ziptie to tether it to the tank and eliminate the drag.
The light is hanging perfectly level now.
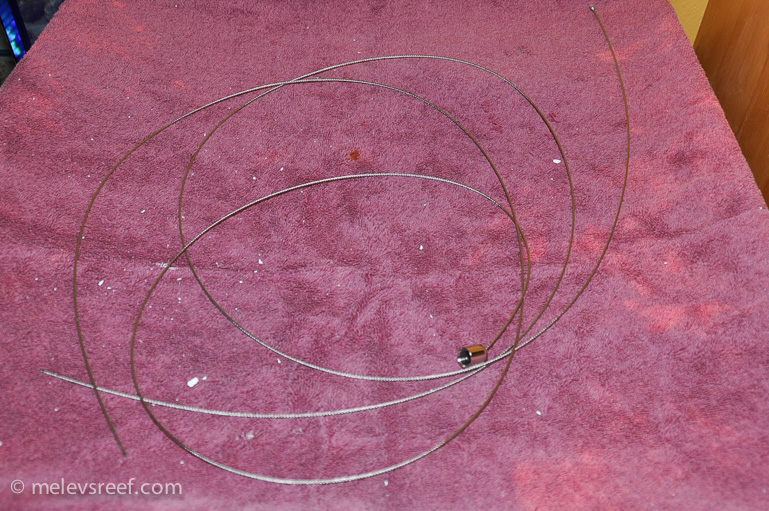
The extra cable is coiled up for now, but I'll cut that off and put some crimp-stoppers on the ends to avoid any accidents in the future.
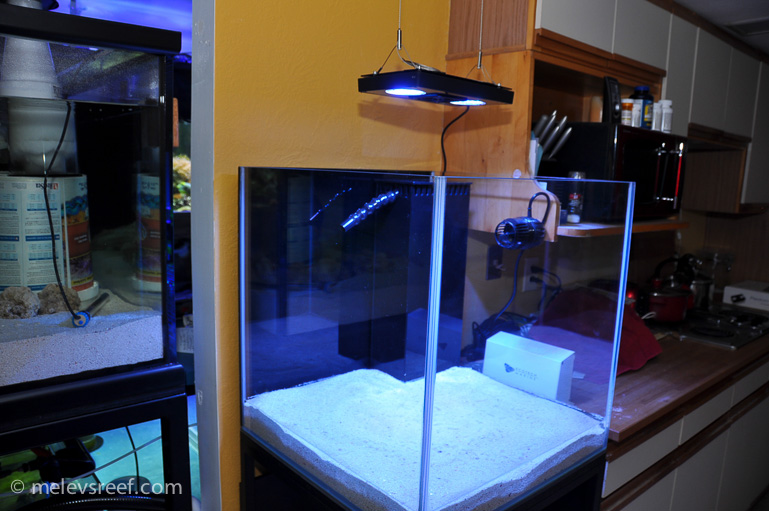
And it looks great.


