280g Reef - Electrical needs Upgraded
After almost three years, I decided it was time for a different type of wiring setup. If you want to see how it was done previously, here's the page that explains it in detail.
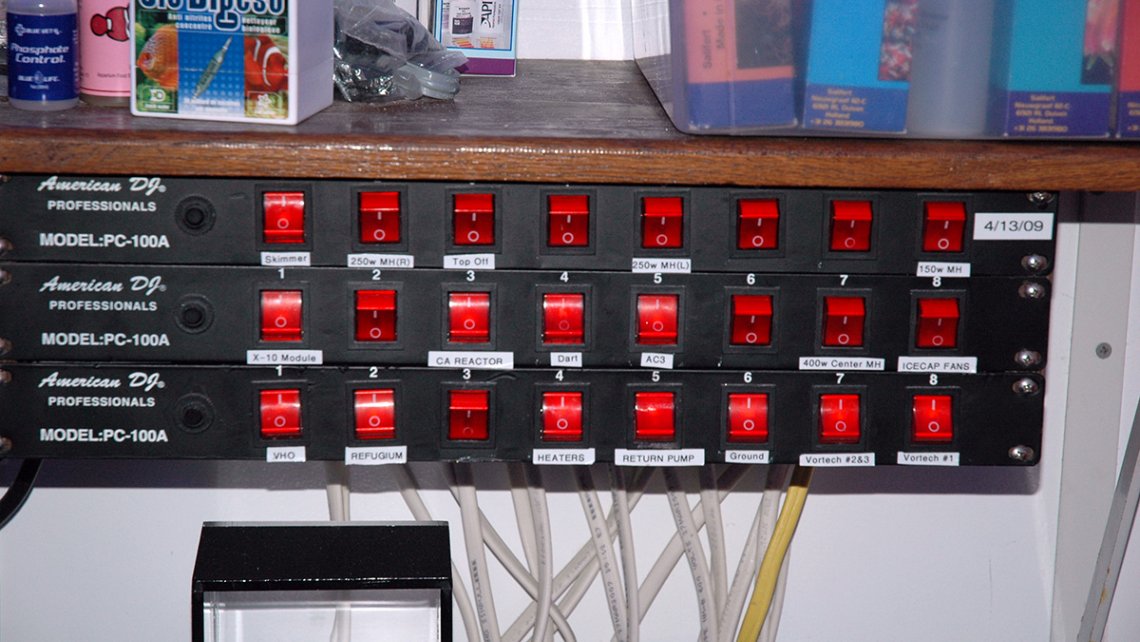
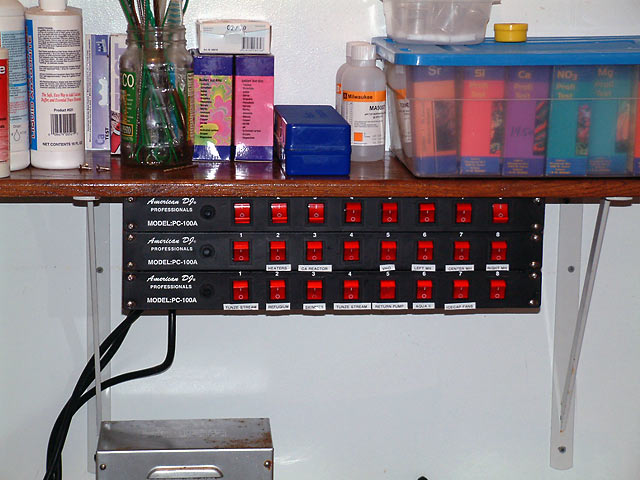
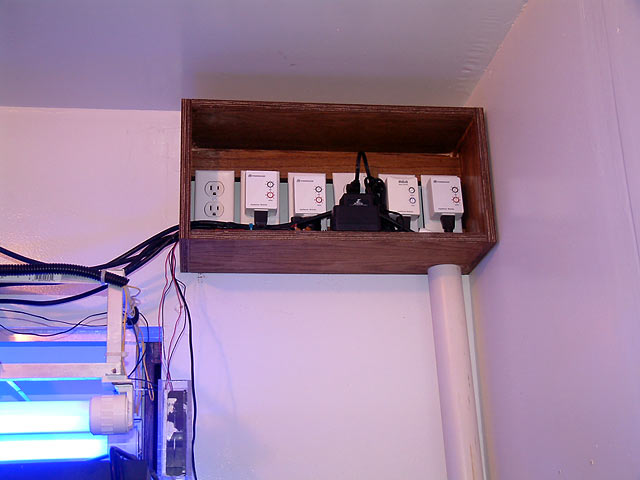
I wanted to relocate the outlets themselves, as well as the power station switches, and add some waterproof outlets over the sump area. The first thing I had to do was raise up the shelf that is mounted over my Auto Top Off reservoirs. I added a third American DJ powerstation because the combined equipment would trip the internal fuse and require manual reset. By dividing my lighting, heaters and calcium reactor over two units, the problem was eliminated. This is what it looks like installed before the wires were plugged into the back outlets.
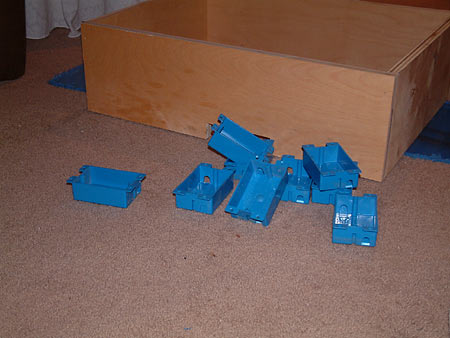
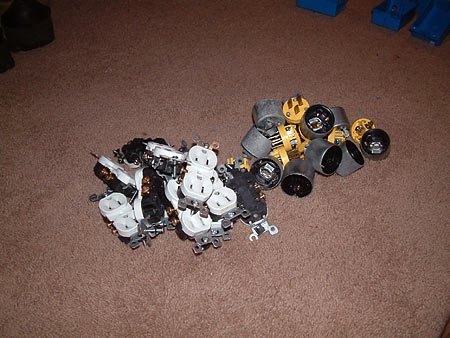
Not wanting to waste anything, I reused electrical boxes, outlets and plugs when possible.
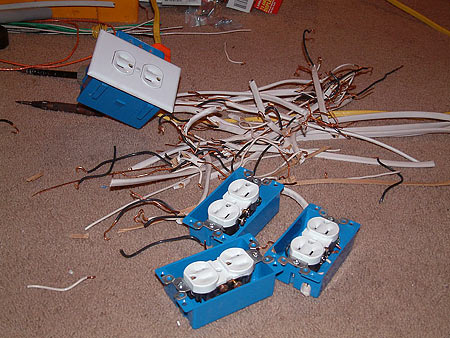
The new system uses more GFCI protected outlets. If one piece of equipment becomes faulty, it will trip the outlet but not the circuit and power continues to keep all other equipment running.
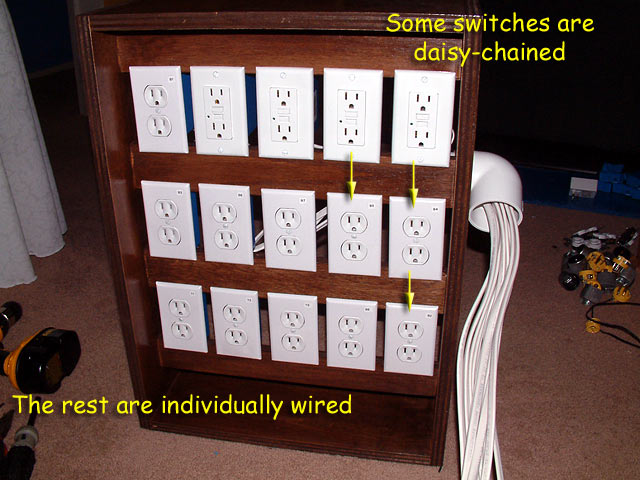
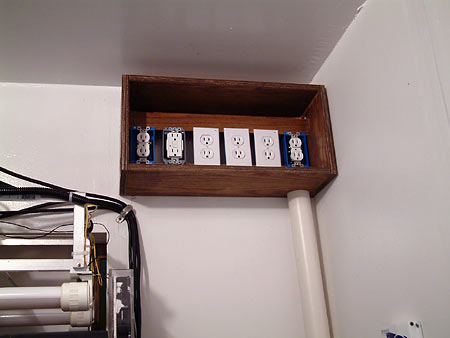
I built the new power center cabinet, stained and sealed it. Once it was dry, I was able to wire it.
A total of 12 wires exit this center, feeding power to 15 outlets. The 12 wires will run through PVC to the DJ power stations, and each wire will have a 3 pronged grounded plug installed. Those will plug into the back of the DJ station outlets so I can turn them on and off as needed.
And how the outlets are wired. Only 7 of the 15 outlets are GFCI protected. The rest are simply powered outlets.
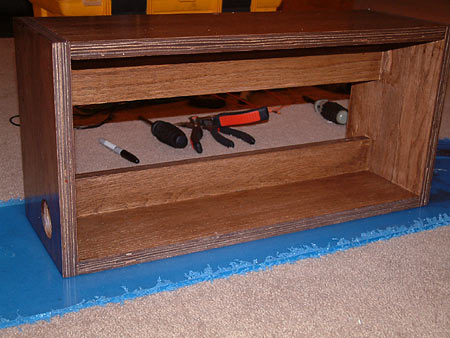
Here's the back side. I accidentally goofed how the notches were aligned during assembly and had to cut away more wood to fix the mistake. The water heater plumbing will run behind the panel in that notch. Also, when running Romex wiring, the shielded part should go into the box completely. You should not see the three wires, visible in this next image. As I pressed the wired outlets into their boxes, the romex pushed out and left them exposed. Don't copy that mistake.

I made a second power center to put up high for all the lighting equipment to plug into.
The new powerstation in place.
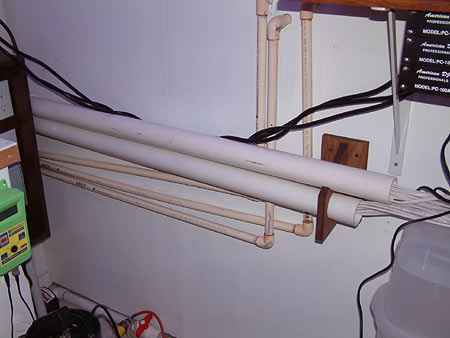
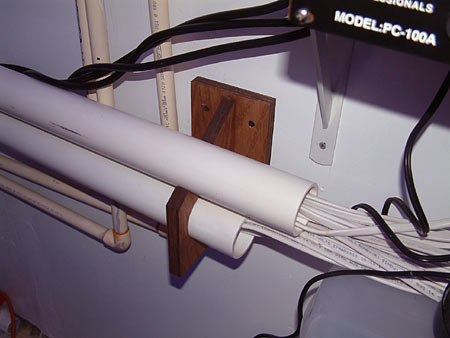
2" PVC to hide the majority of the wiring. The top pipe is for the upper set of outlets (small pipe would have worked, but I had this so I used it). The lower pipe is for the lower set of outlets. And a small wooden bracket to keep it on the wall, as I couldn't find any appropriate hangers. Remember the CPVC in the background is for the water heater.
Lighting power source, with room for moonlighting later.
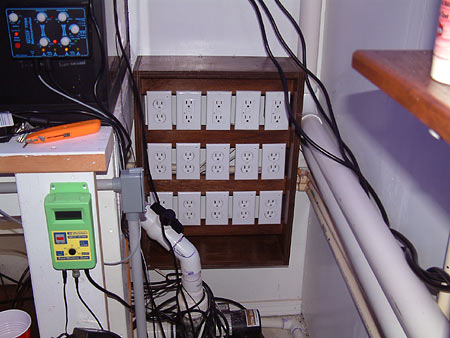
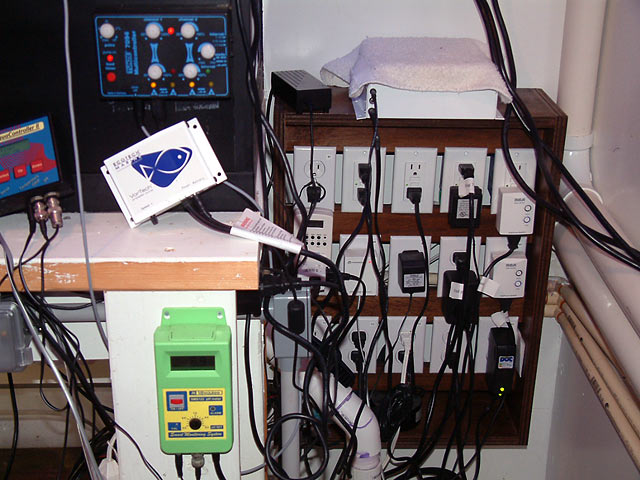
Main power section for the majority of the plugs. I'll probably add some type of acrylic splash guard to these.
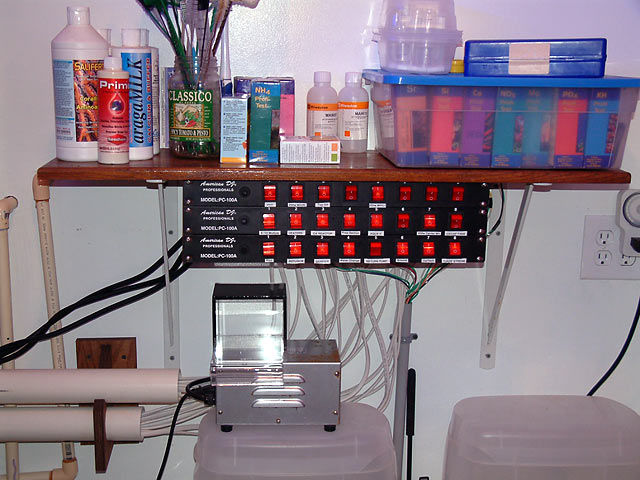
Switching station that allows me to turn on or off almost everything individually. You can see the wiring running up behind the power stations.
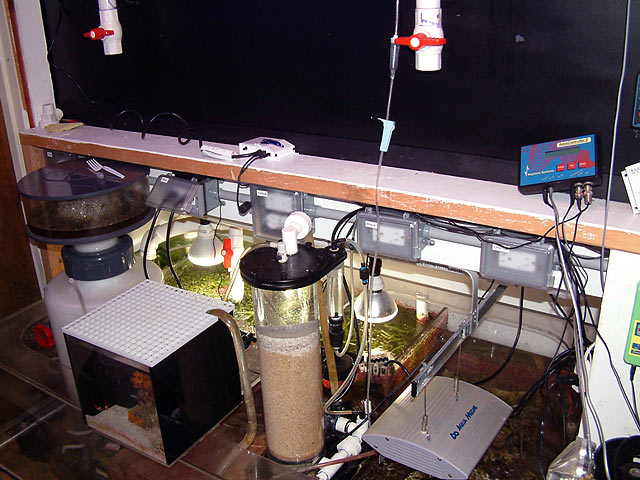
Here is a picture of the waterproof electrical boxes that are mounted over the sump.
To learn more about wiring outlets, click here.