Installing a Sump in an Existing Setup
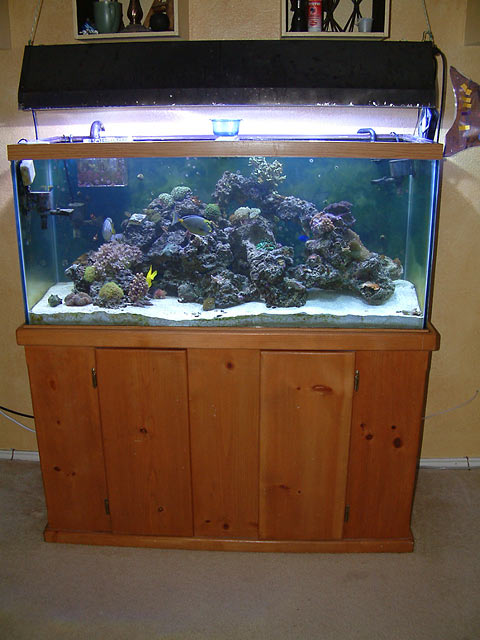
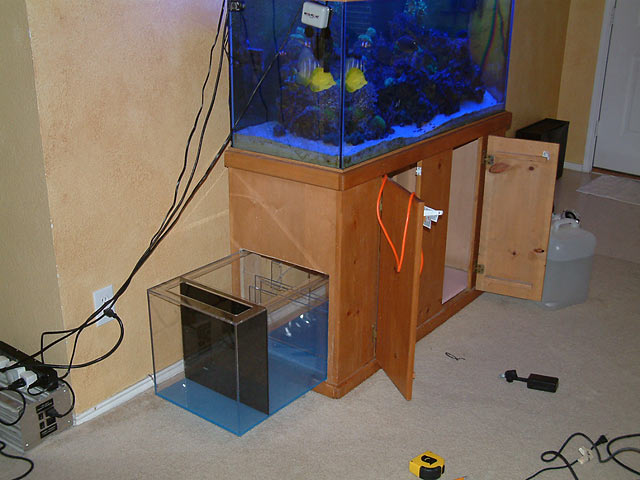
Quite often, I receive email about how to install a new sump in an existing setup with a tank full of water and livestock. So this page has been created to document the process and to give you some ideas to consider. Here's the tank in question, a 79g reef tank on a stand that is 48" long and 17" wide.
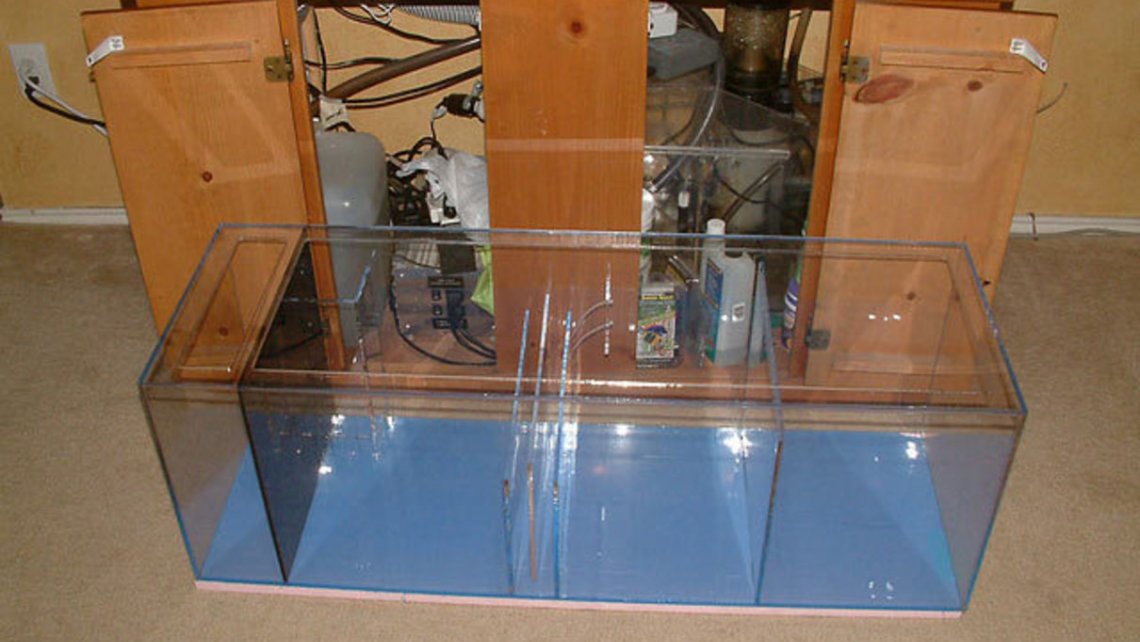
The sump that was built for this setup is 48" x 15" x 15", and included a section for the skimmer, a refugium, a top off compartment, and the return zone. The stand, as you can see below, does not have easy access nor was it possible to remove the center board.
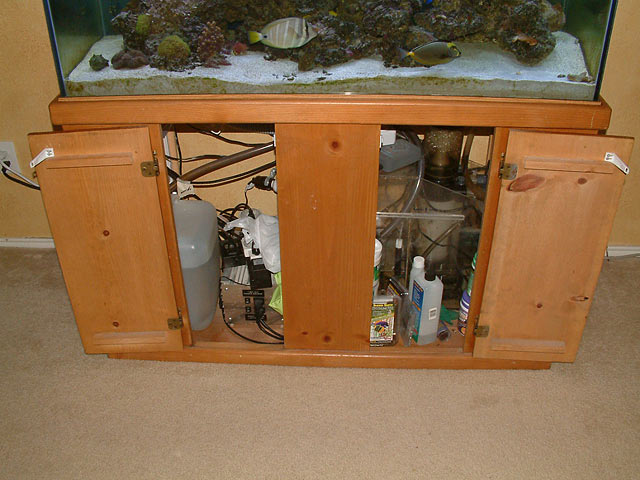
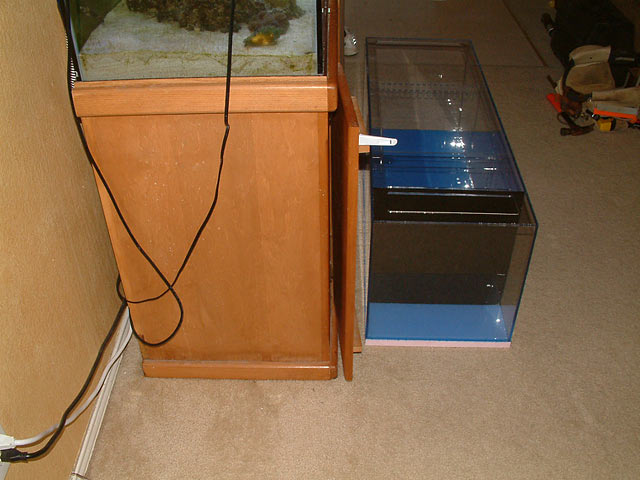
As you can see, this sump will fill the stand almost completely. Everything was taken out to make room, including the old wet/dry system. The display tank had the lighting, heater, and circulation pumps running during the transition.
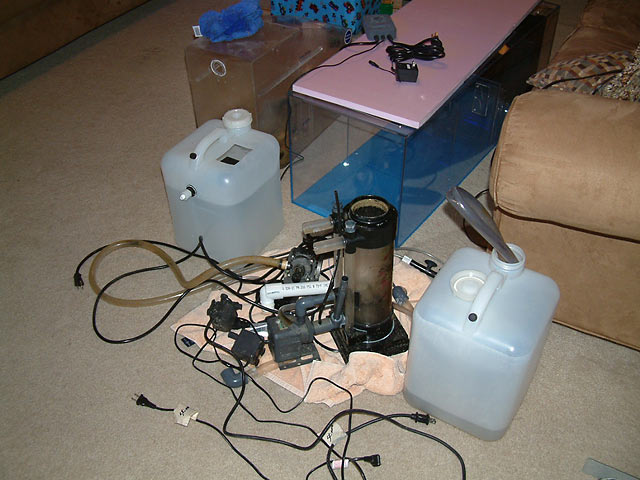
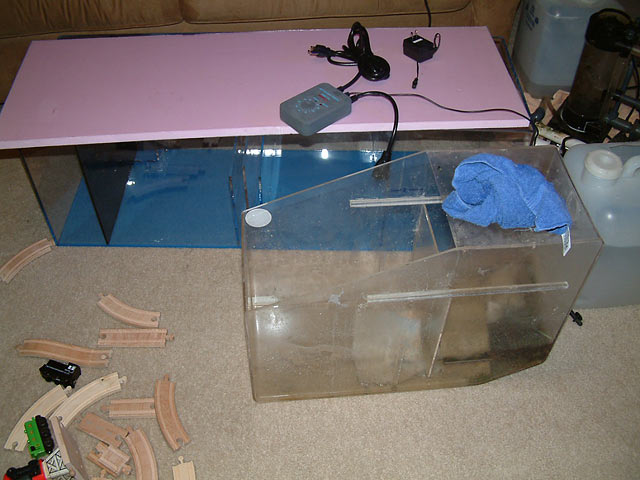
The new sump is roughly three times the size of the old filtration. All parts were cleaned with muriatic acid and water, and rinsed well before being used in the new sump.
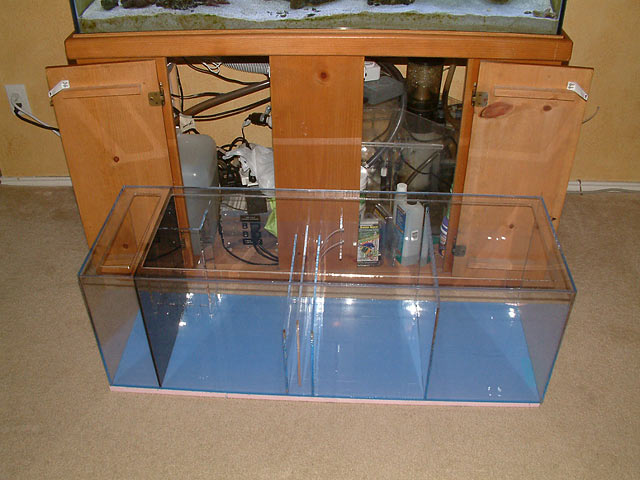
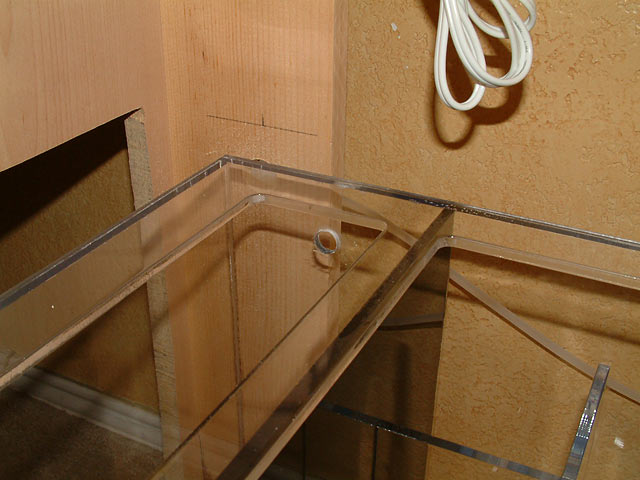
I decided the best choice was to cut a hole in the side of the stand, permitting me the ability to slide the new sump in from the end. Once the outline was traced on the side of the stand, the sump was placed so as to make sure the opening would suffice.
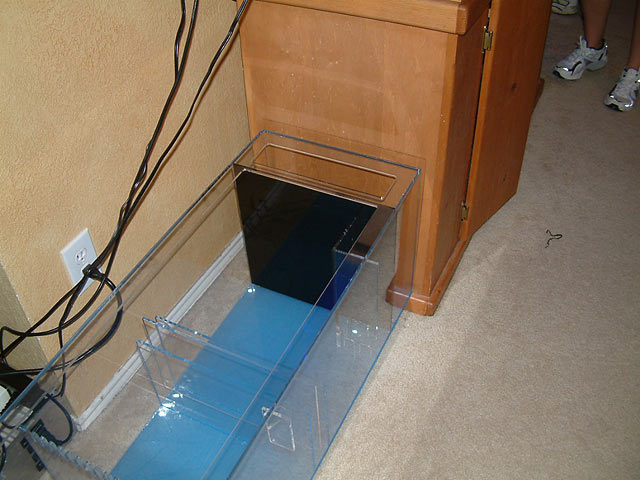
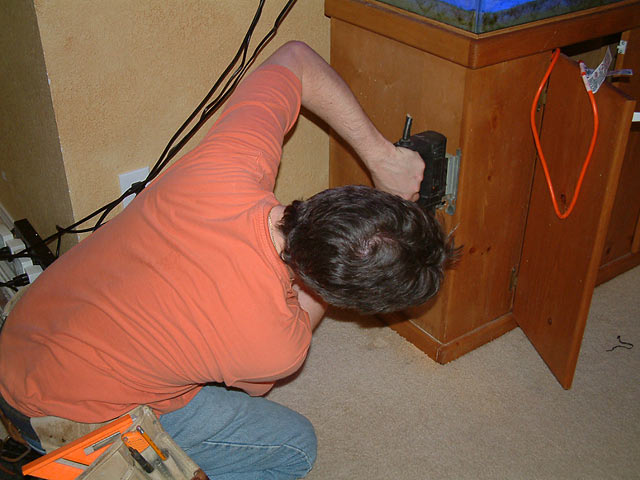
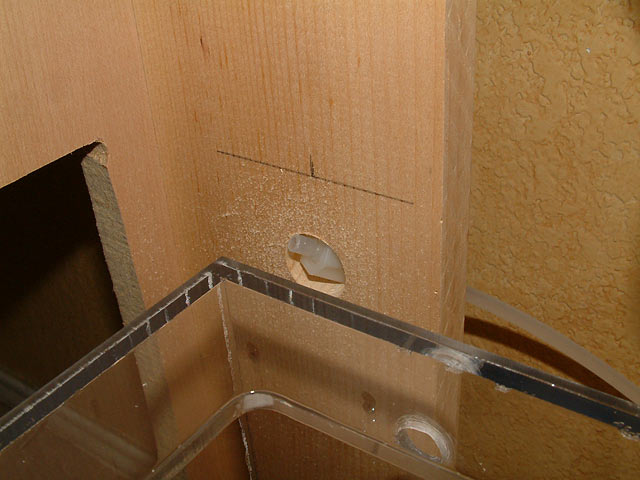
After assuring that nothing inside could be harmed, including any wiring, a jigsaw was used to cut the opening. First a 1/2" hole was drilled in the corner of the outline, which allowed for the blade to be inserted cleanly.

A sheet of 3/4" pink foam was placed beneath the sump to avoid any pressure points that might cause the sump to fail.
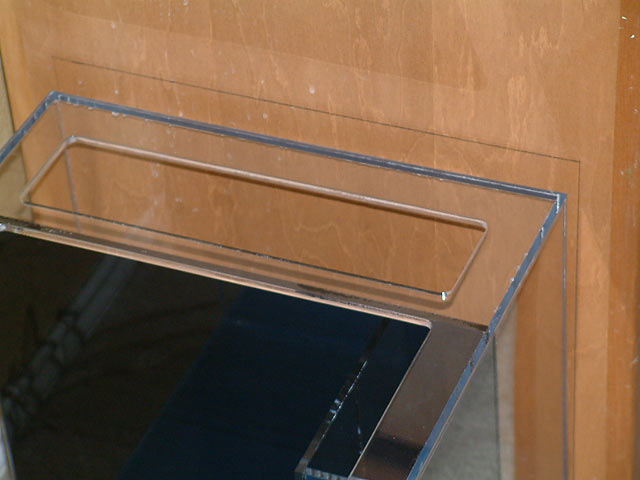
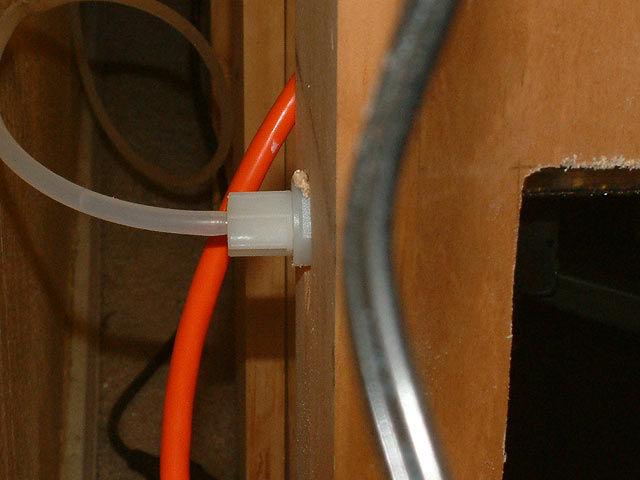
A hole had to be drilled in the back of the top off compartment for a Kent Float Valve (1/2" hole), and a larger hole in the rear corner of the stand to accomodate the RO/DI connection.
The Kent valve was installed, and the RO/DI connection was completed. Water was added to the resevoir next.
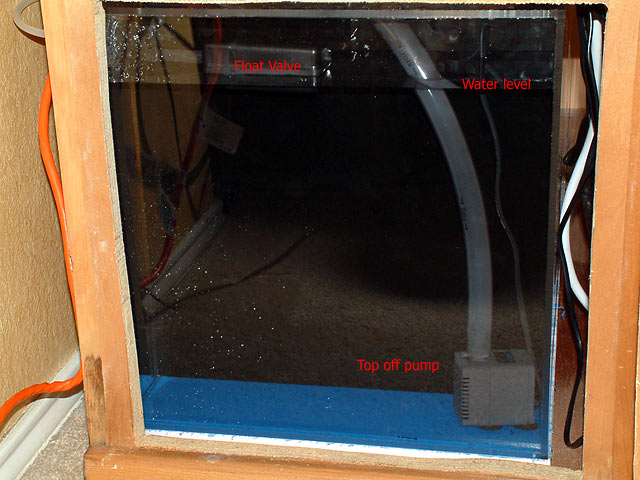
While many may like the idea of hooking up their RO/DI system directly to their sump, I don't recommend it due to the risk of disaster. By setting up a top off container next to the sump, you can limit how much freshwater will be added at any given time. More information.
In the system pictured next, you can see how this compartment holds 4g of top off water. Once it is full, the owner can close a small ballvalve (not pictured) on the 1/4" tubing coming from the RO/DI unit until it is time to refill this compartment again.
The top off section should keep up with the needs of the tank for 48 hours, and refilling it should only take 45 minutes or so. There really is no reason to leave the RO/DI unit turned on around the clock when it only needs to be run for 4 hours a week, at the most.
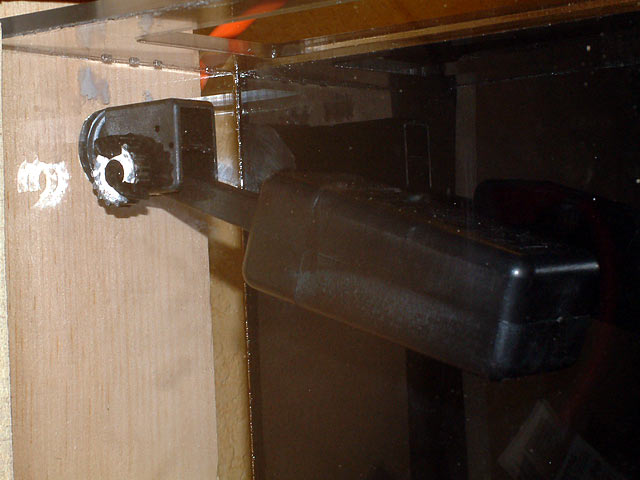
The RO/DI unit keeps the top off section filled up. As the aquarium needs water, a float sensor activates the top-off pump to add some RO/DI water to the skimmer section, replenishing what has evaporated. Below is the device and the sensor, affixed in the return section with zip ties.
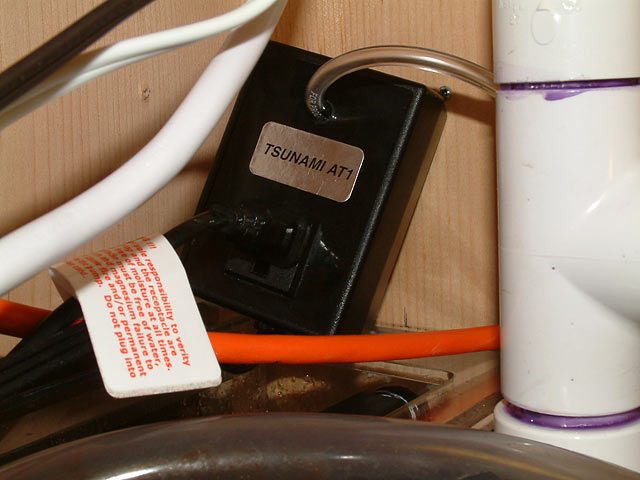
A special bracket was glued to the sump to hold the Tsunami float probe.
Plumbing
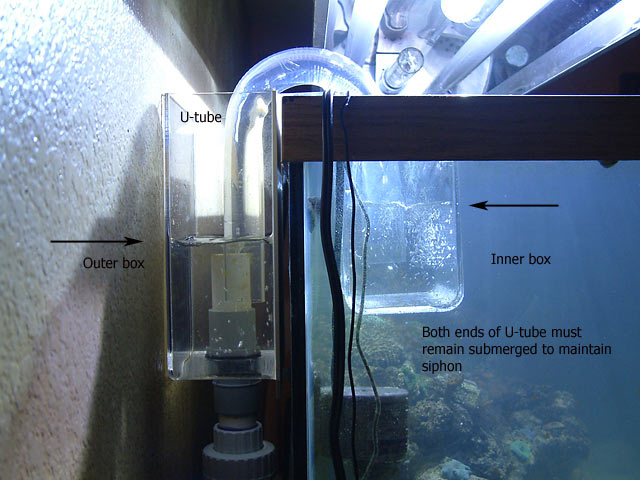
This tank has a HOB (Hang on Back) overflow box. Water cascades into the inner box, and a U-tube carries the water over the back of the tank into the outer box. From there, it drains down PVC pipe into the sump. A return pump pushes the water in the sump back up to the tank, which then pours into the inner box to repeat the process. The recommended amount of flow going through the sump should be three to five times the volume of the tank. With this 79g tank, all the pump needs to move is 400gph. The HOB overflow has a 1" U tube and drain, which can drain only (and not more than) 600gph.
PVC is very cheap, but the fittings can really add up. In this particular project, not a lot of parts were needed.
|
One 10' stick of 1" PVC Schedule 40 pipe |
All parts were glued with Oatley's PVC cleaner/primer and PVC cement.
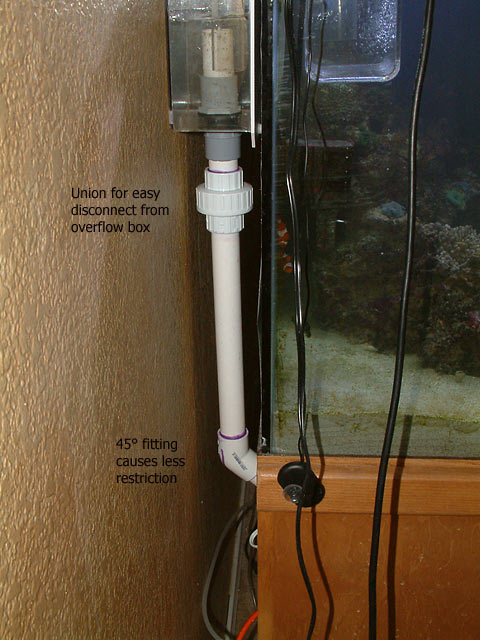
Above, the drain line was glued into a union, which can be loosened when the overflow box needs to be cleaned.

The drain flows downward into the skimmer section's bubble tower, but a ballvalve is used to close off this drain somewhat. In doing so, some of the water is diverted across the sump to the refugium section. If your tank has double drains, this step would not really be necessary, but a variation of it may be worthy of consideration.
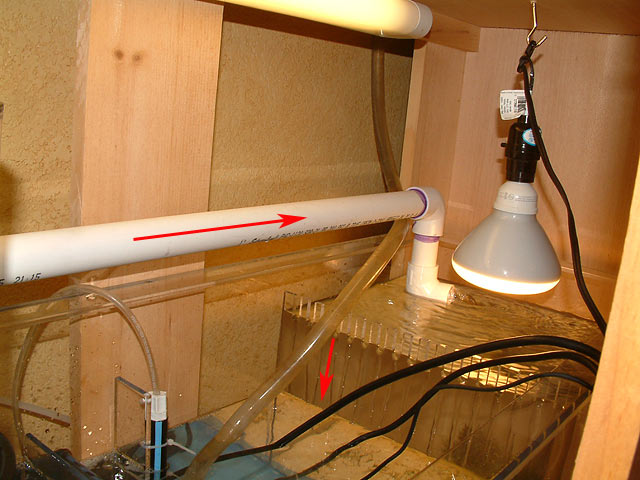
The water exits the refugium section and pours into the return section.
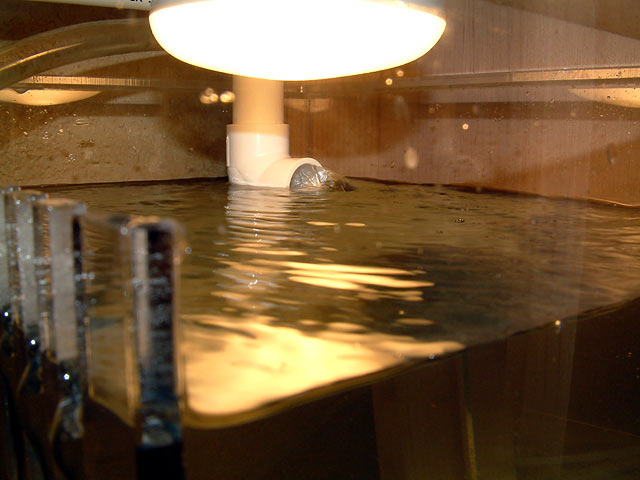
Water pours in gently, while air breathes out of the pipe quietly. The refugium bulb is a 19w bulb (5100K - needs to be ordered online) to light the macro algae.
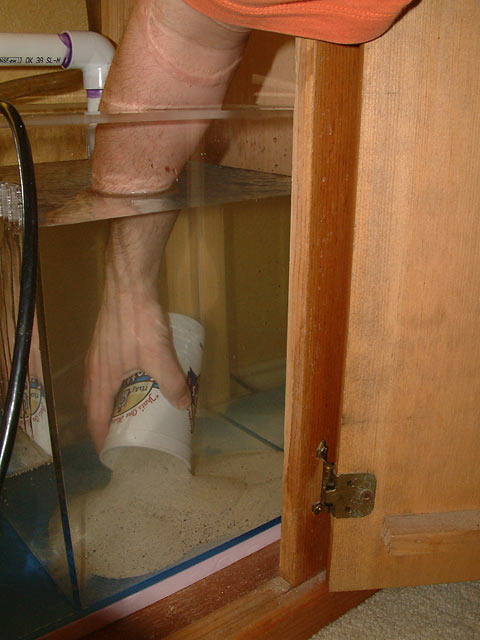
Rinsed sand was added slowly by lowering a cup-full at a time. In doing so, it was gently released and didn't cloud the water at all. 1" of substrate is usually enough for a refugium as the footprint is quite small.
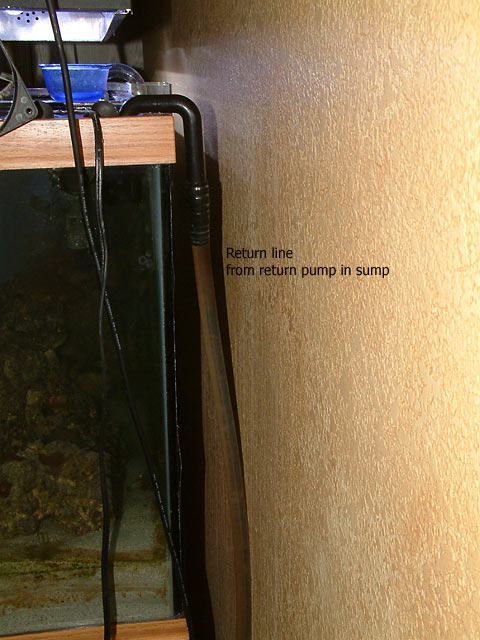
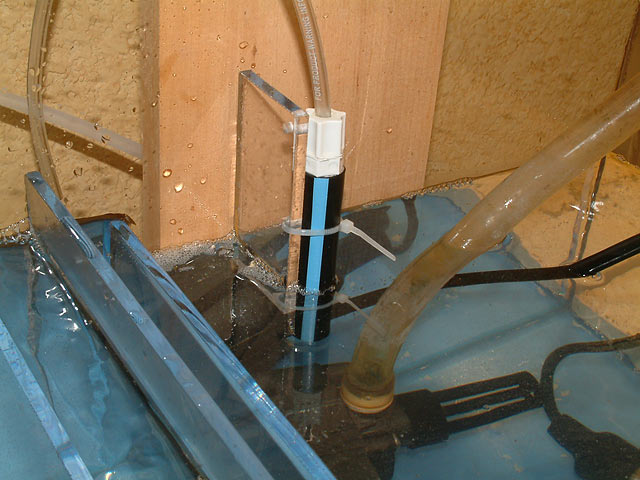
Water is pushed back up to the tank via a Mag pump and some flexible tubing. The black U-shaped fitting holds it securely. It has an anti-siphon hole drilled in it 1/2" beneath the water's surface , which breaks the siphon and avoids draining too much water down into the sump.
The sump has plenty of empty space in it even during a power outage. It will not overflow, as there is still room for another 15g of water.
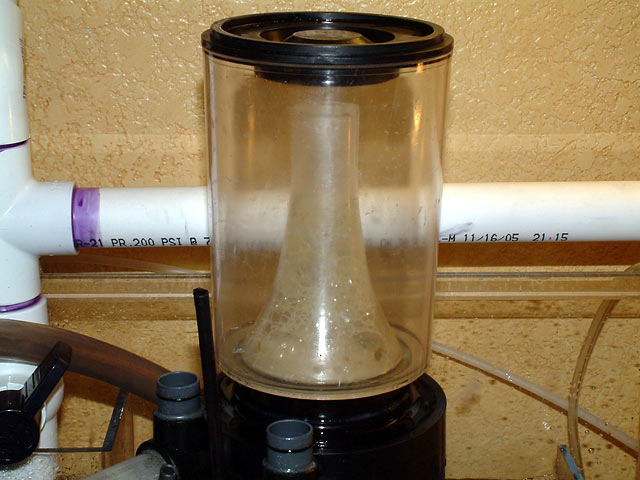
Within the hour, the skimmer started pulling out skimmate.
Typically with new plumbing, a new sump, and the use of glue, microbubbles are commonly seen in the display tank. However, in this particular instance, they were hardly seen. Before the plumbing was installed, it was taken outside and freshwater was flushed through the pipes briefly to remove any toxins from the solvent (glue). The flow going through the sump was slow enough that the microbubbles didn't travel far, and remained in the skimmer section where expected. This sump follows the same layout as the Model F on my site, where water enters the sump from both ends and then pours into the center return section. I recommend that 75% of the water drain into the skimmer section and 25% pour into the refugium.
The panel that was cut out was later trimmed with some decorative molding from Lowes, and then positioned in its original spot to hide the opening from view.
Over 25g of new saltwater had to be mixed up and added to the sump that day. Make sure to have enough saltwater on hand when ready for your own project. Expect to spend some time cleaning equipment, as you won't want to put dirty stuff in your nice clean sump, right? 
Even though this was an all-day project, the livestock was completely unaffected by the project, but will greatly benefit from the better sump & refugium. Plus the owner will enjoy having more room to work under the tank, and access pumps and more with ease.


