ATO Reservoir
Topping off around the clock is the best way to keep salinity stable, and doing so from a reservoir avoids any risk of excessive additions of RO water.
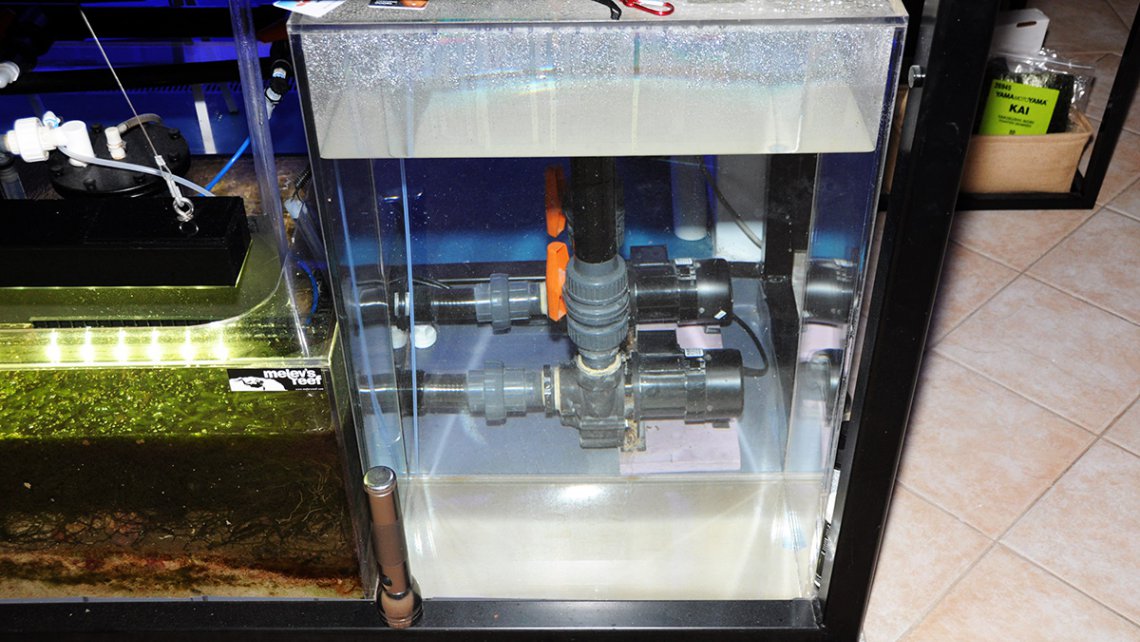
The ATO reservoir measures 22" x 15.5" x 32" and is made with 3/8" cast acrylic. The only opening is a sliding access door at the top corner, just above a float valve. The container holds RO/Di water and I am very careful not to let anything pollute the water since cleaning it out would be extremely challenging. The 150gpd Boosted RO/DI system feeds water directly into the reservoir so I never have to lift a jug of water ever.
Note the float valve inside the container to stop the flow of water when it is full, plus an inline ball valve to shut it off completely.
It's a snug fit, as I wanted to utilize all the available space. It holds 45g of water, which I thought would be nearly one week's worth of water if the tank evaporated 7g per day. For the first year, the reef averages 3.6g of evaporation daily, but during the second year of it being set up, I'll be adding a window a/c unit to the fishroom and expect the evaporation rate to increase.
With the previous system, I had two containers that held 20g of water, and I had to refill 15g every three days for SIX YEARS! That's a lot of 5g jug hauling, even though it was only from the utility room to the containers in the fishroom, but it was 2190 trips total. If you consider it was back and forth, that's 4380 trips total. You can see why decided to make my life easier with this set up. The RO system can push water 40' before it puts too much backpressure on the membrane. I ran 25' of RO tubing from the utility room through the kitchen's dropdown ceiling into the fishroom. The tubing then branches to the 265g poly tank and to the 45g ATO reservoir. Either container can fill up as needed, and once full the float valve in the container shuts off the RO/DI system. Once full, I then close a ball valve to make sure the system doesn't turn on again until I want either refilled.
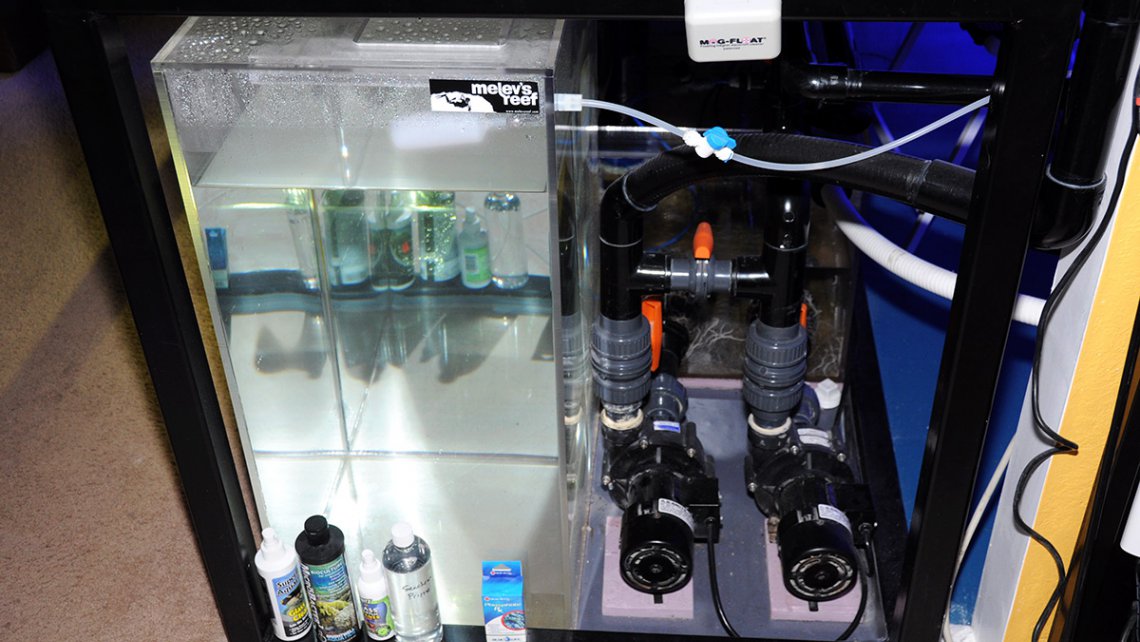
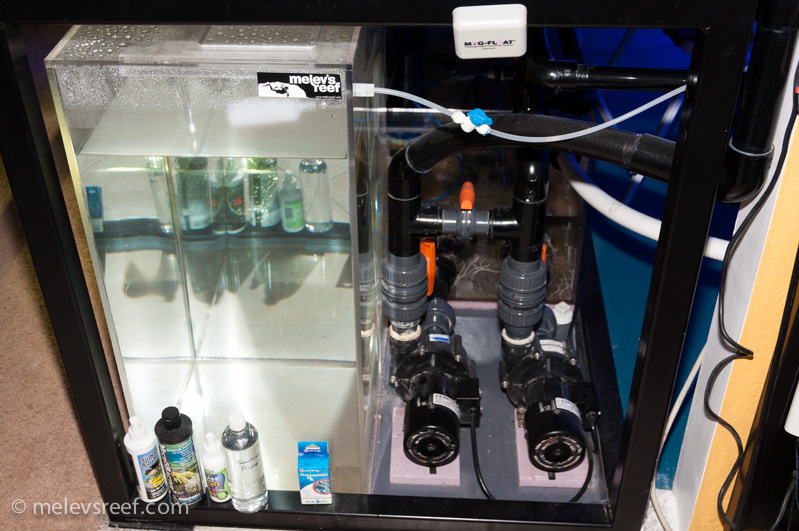
This is a picture 3.5 years after installation still clean and looking brand new. I don't put anything in this container other than RO/DI water to keep it free of contaminants.
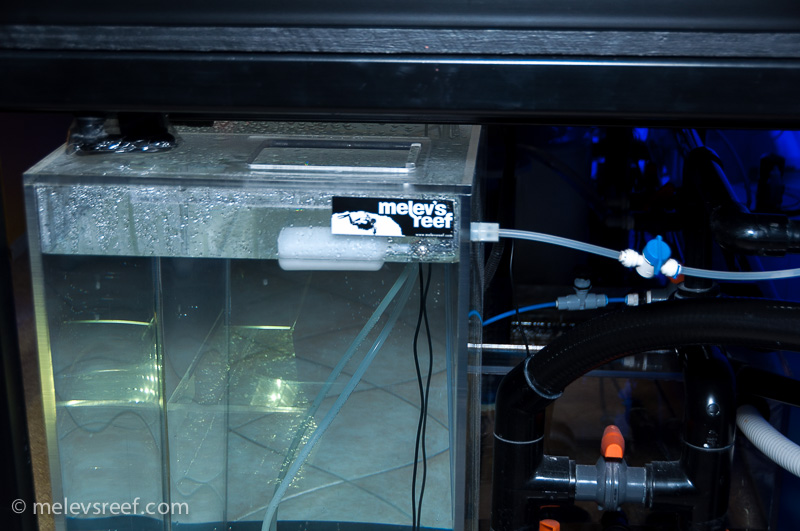
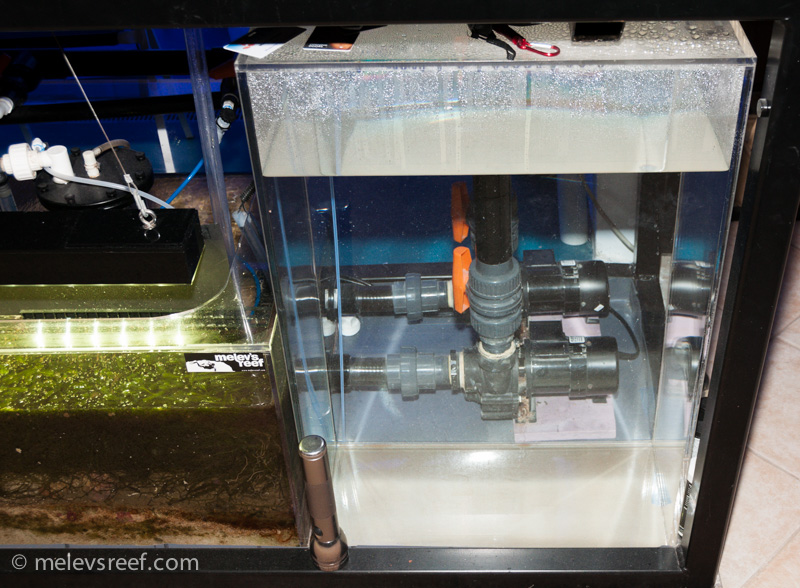
How does the water get out of the container? I use a Top-It-Off Deluxe kit, also available from my shop. I installed two float switches in the sump, so if one fails, the other still still can stop the additional water from being added. The pump of choice is an Aqualifter, and it draws water up rigid 3/16" tubing and trickles it down a riser tube into the return zone. With the water level in the sump at 9" and the top off container holding water up as high as 30", I had to prevent siphoning. A short section of tubing from the Aqualifter points down the riser tube, quickly breaking the siphon when the float switch shuts the pump off. When topping off, water runs down the riser tube and into the sump, quietly and without spatter.
When the float switch drops in the sump, it is because enough water has evaporated that more is needed. The top off system then replenishes what was lost until the switch floats back up into the off position. It's a very simple system once you've seen it work in person.


Two blogs with all the installation details:
Reservoir: http://www.reefaddicts.com/entry.php/1283-Custom-Auto-Top-Off-Reservoir
Riser tube and ATO system - http://www.reefaddicts.com/entry.php/1362-Aquahub-s-Auto-Top-It-Off-kit
Update Early 2016: I've switched over to the Smart ATO system that holds magnetically to the wall of the sump. It was an easy installation that took me about 10 minutes to incorporate into my particular gear. The small feed pump pushes water from the ATO reservoir to the riser tube in my sump.
Something with HTML textformat


