Tue, 05/23/2006 - 22:48
I finally got my new light suspended over the prop section of my sump last night. I wanted a small light that would fit nicely, not use tons of power, and be moveable. As people would come visit, I'd explain what I was wanting, and finally someone suggested I get a rolling drawer track. Bingo! :D
After work yesterday, I came home, ate dinner and then decided that I had mere minutes to head up to Home Depot before they closed. I looked at the rolling door tracks, and stumbled across a bracket set designed to secure a keyboard under a desk for $13. The tabs sticking out of it were roughly 7" apart, the same distance as the cables on the light fixture. PURRRFECT. In hardware, I looked for something that I could crimp around the wires to keep them in place, but wasn't sure of what kind of metal to use. I found aluminum ones with some help, but lead would have been better in retrospect.
When I got home, I started to figure out what would work and what would need doing to make this happen. It was hot in the garage because of the a/c unit to the fish room, so I opened it up to vent out the heat before starting to make noise for the neighbors from midnight to 2am.
The biggest hindrance was determining what I could use from the base of the stand to the bracket. I didn't really want metal that could rust and drip, but wood seemed bulky. I thought about acrylic for a little bit, but didn't want to wait for it to cure, let alone wonder what would happen when it eventually did fail. I couldn't find any angle brackets, and didn't feel like modifying a shelf bracket or two. Then I remembered I had some straight stock aluminum left over from the original light rack.
Tools needed for this project:
Hammer
Hacksaw
Drill with various metal bits
Vicegrips
Tape measure
Wire cutters
Speed Square
Patience
So once I figured out where the light would hang and how the bracket needed to be placed, I cut my aluminum pieces. On was 7" long, the other was 12.5" long. The 7" piece would fit under the 2x6 frame that holds up the tank, while the 12.5" piece needed to be secured to the plywood sheet that the tank sits upon.
Next I drilled holes to align with the brackets that were built onto the rolling track. This wasn't as simple as I would have liked, but 20 minutes later I had what would work. Using rivets, I secured the aluminum brackets to the rolling track, and then screwed this into the underside of the tank's stand.
The wires were run through the keyboard tabs, and using the aluminum crimps with Vicegrips, I was able to assure those weren't going anywhere.
Finally, I ran the other half of the cables into the connectors on the lights, adjust the height to what I felt was right, and tested it out. It worked.
Want to see some pictures?
Okay, here are the crimping parts. $1.10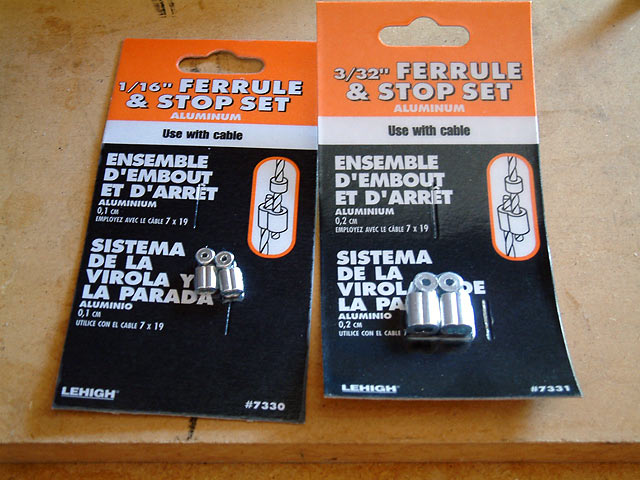
Front cable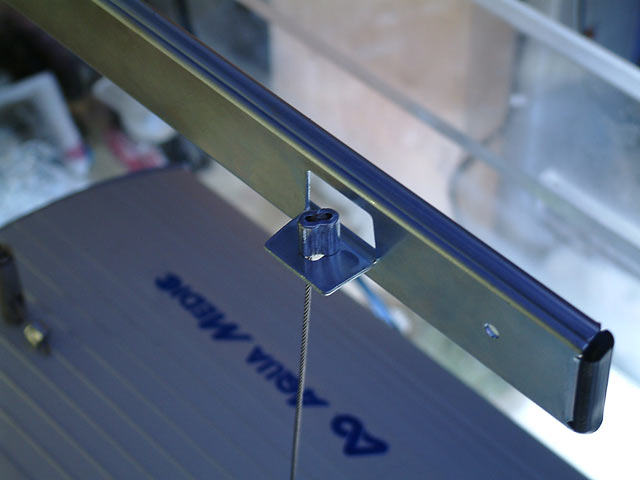
Rear cable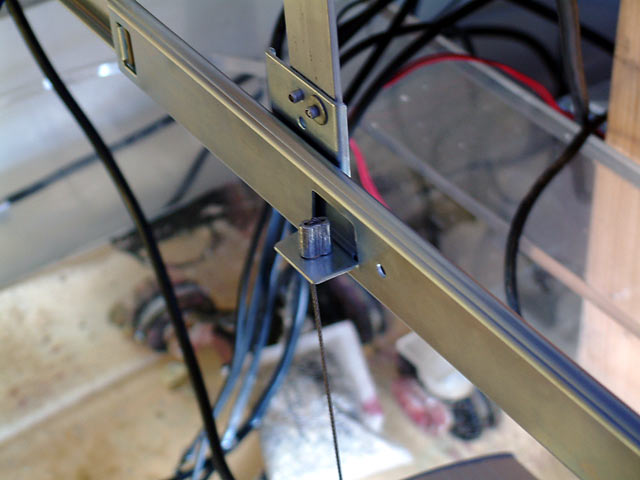
Front bracket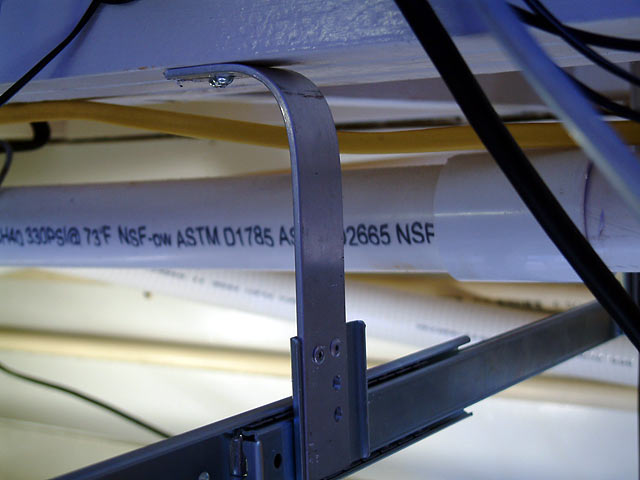
Where it was riveted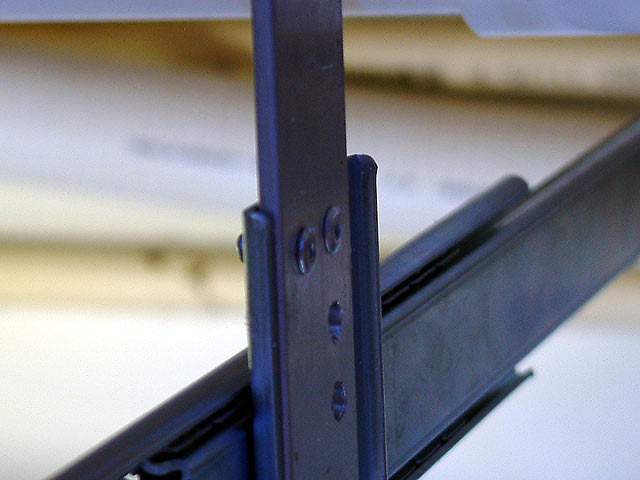
Here is the light fixture extended to the front of the sump.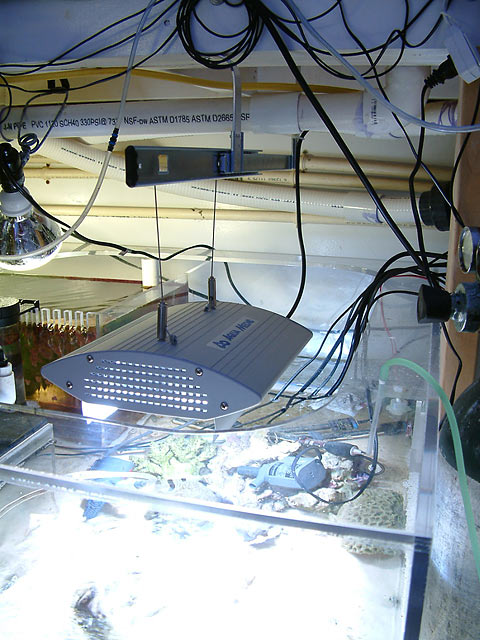
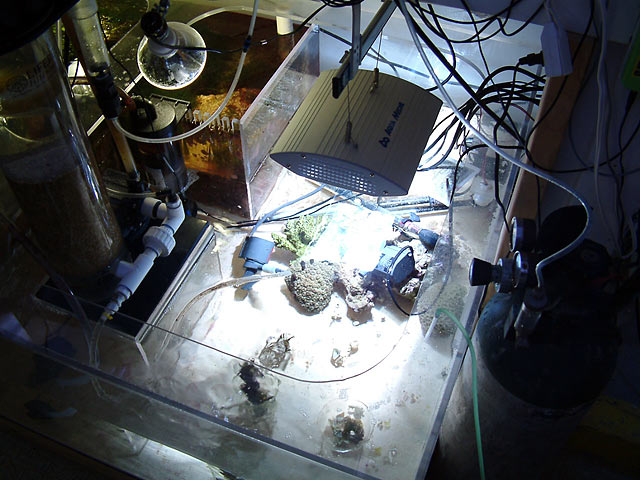
And now it is rolled back or retracted to the rear.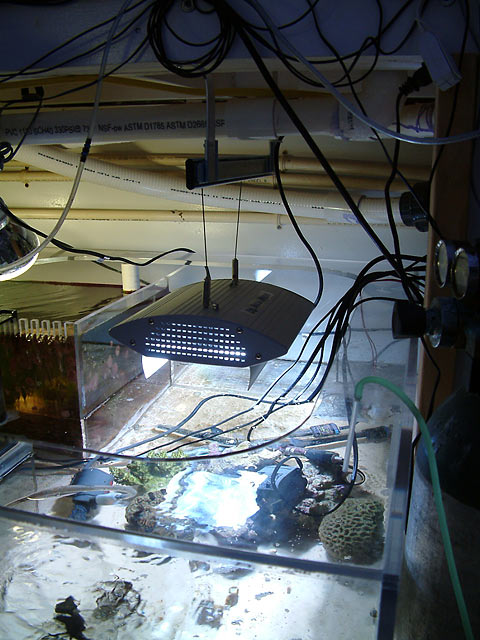
Again, but from above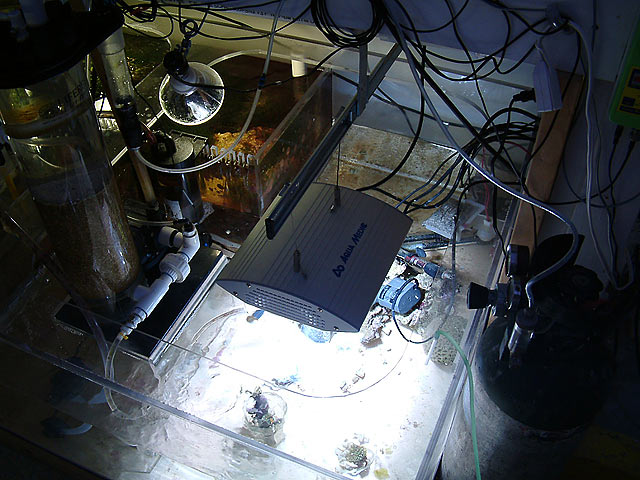
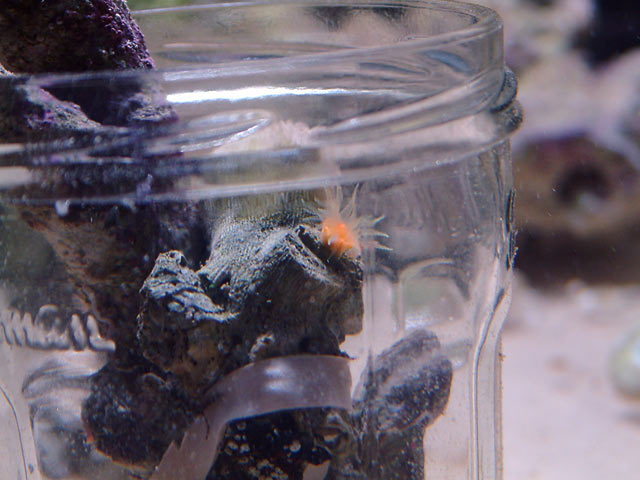
The frag zone is small, with LR piled up in the back.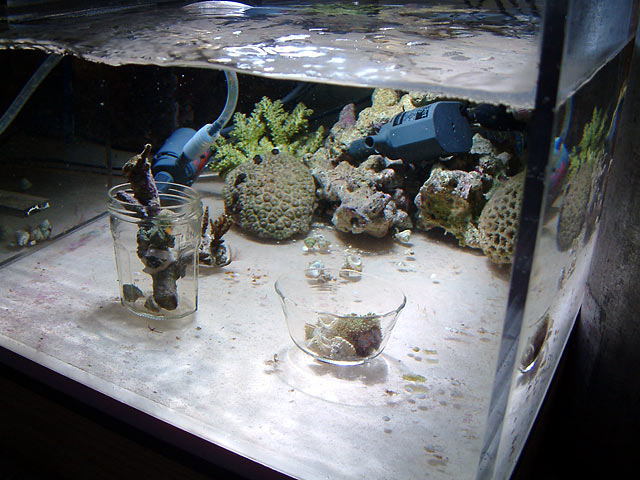
A couple of frags.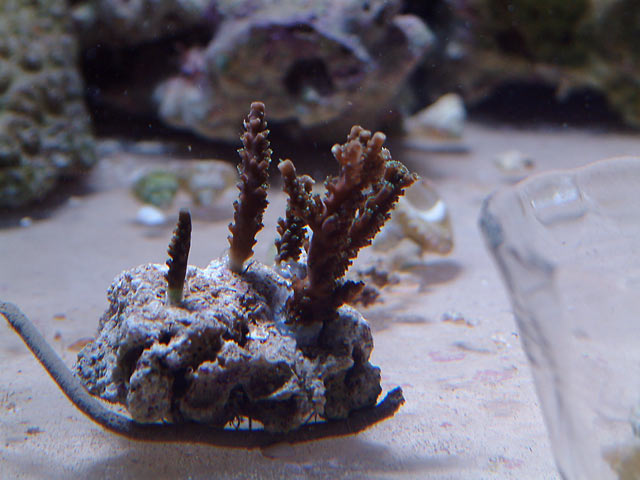
Now I just need to go through my reef and figure out what needs to be transferred down into the prop zone.
I'd like to move the Maroon clownfish and their anemone to this section, but at the same time I'm not sure if that would be a good idea. I don't need the clowns moving or harming frags, nor do I want the anemone to hike right into the return pump intake....
The fixture is an Aqua Medic 150w Double-Ended (DE) Metal Halide setup. It has a 14,000K bulb and the color looks nice over the frags. Currently the timer runs the light 8 hours a day, but I may reduce that photo period if necessary.